In 2004 I launched my business in Tempe, Arizona. I met with a commercial real estate agent and I leased the very first location he showed me. It was a 1,150 sqf space at the end of a non-descript tilt-up industrial building constructed in the 1980's. For the first decade everything was copacetic, but it wasn't meant to last.

~ A story about a studio build ~
It all started when…
The market crashed. The demand for processed foods went through the roof, and as it turned out the milk factory next to my Arizona studio produced evaporated milk, a mainstay in most food stuffs that come in a box. They started running 24 hours a day and the rancid smell that emanated from within was unbearable. Add to that the influx of trucking companies that moved into my building that loved to power-wash their dirty trucks directly behind my roll-up door, and well, I knew I had to move. Erin, my wife, and I made a trip out to the Ozark Mountains of NW Arkansas and found the perfect piece of land which we bought. I spent the next two years building my studio from rammed earth, concrete, steel, and wood. Below are photos of the trials and tribulations of the process. No one said it would be easy...
The first build, the Garage

The land as we purchased it. Untamed, much like BG.
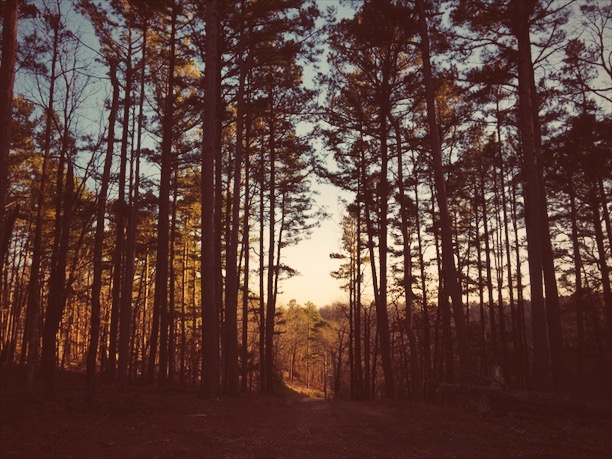
Twilight in the Ozark's is always a respite from the modern world.
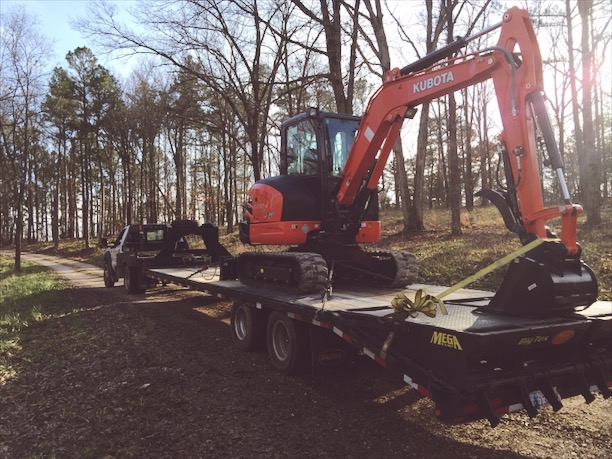
To build we needed muscle. A Kubota KX-040 was just the ticket. How hard could it be to operate, right?
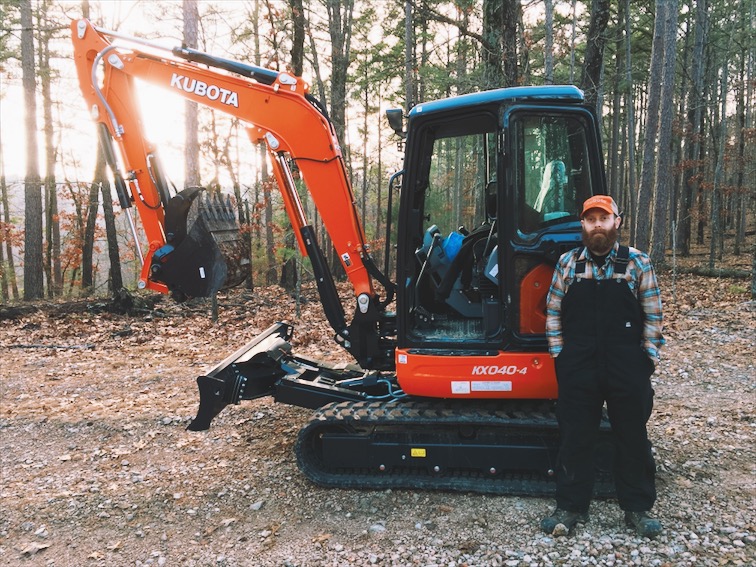
A man and his machine. The excavator has never looked as clean as it did this day.
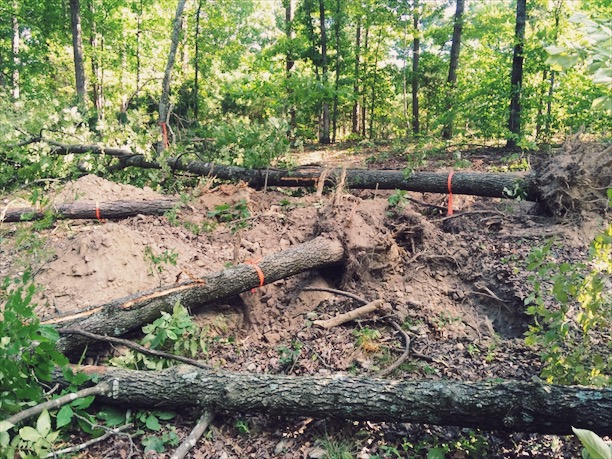
Clearing trees by pushing them over. I saved these logs and we milled them later for lumber for the build.

Erin checking out the freshly cleared area for our first building, the garage.

Lines. What do they mean? Nobody knows.
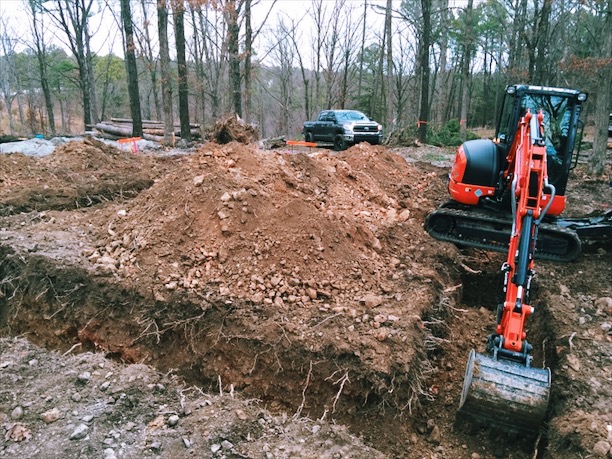
My first go at digging footings, not too shabby.
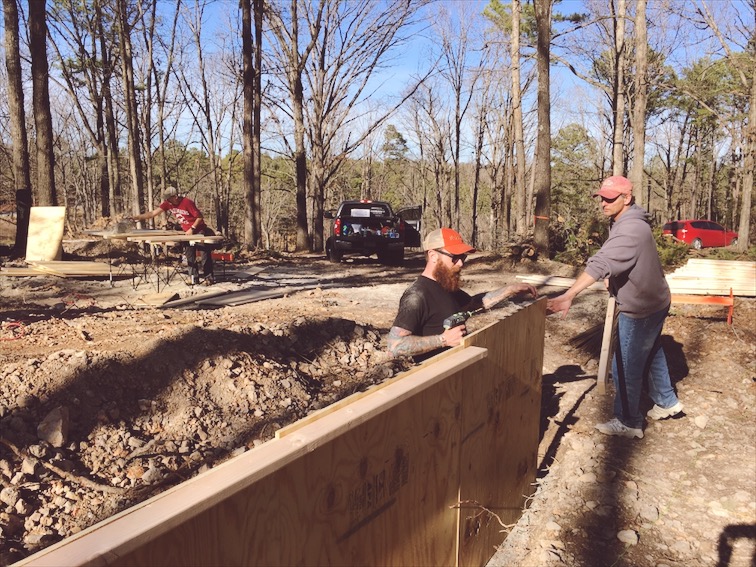
Me forming the concrete stem walls with my neighbors, Blake and Ben.
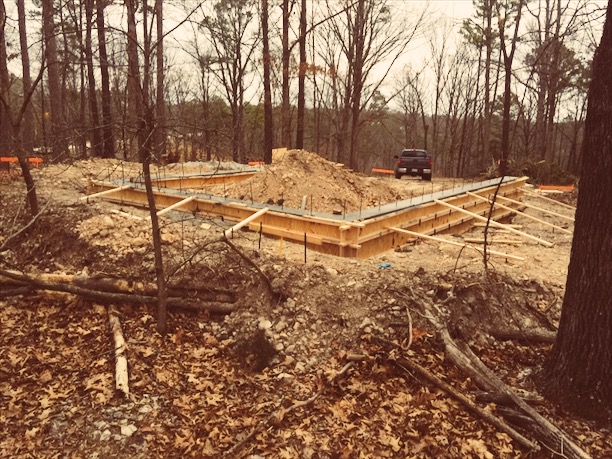
Concrete stem walls poured. I had to go back to Arizona after this for about 6 months, so the rammed earth had to wait.
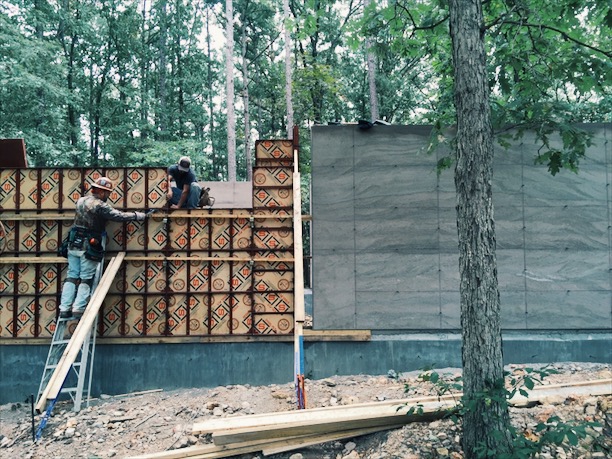
The first rammed earth walls going up! The forms I used were Symons SteelPly forms. If you want to buy some I have a great contact in Arizona.

BG, up in the forms, ramming away. Rammed Earth mix is loaded into the form in layers of 8"-10", then rammed with a pneumatic tamper.
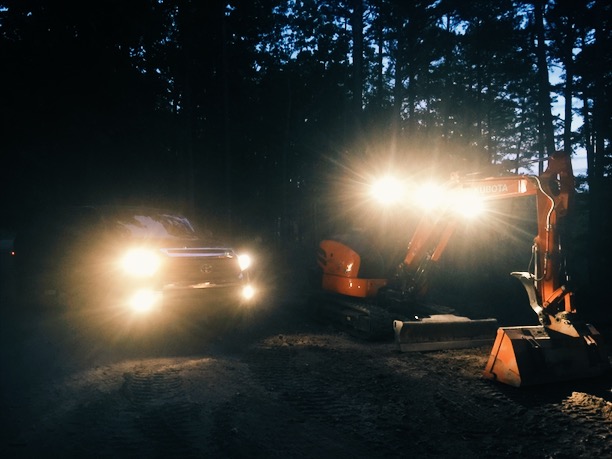
Sometimes we would work late into the night by the light of my truck and the Kubota.
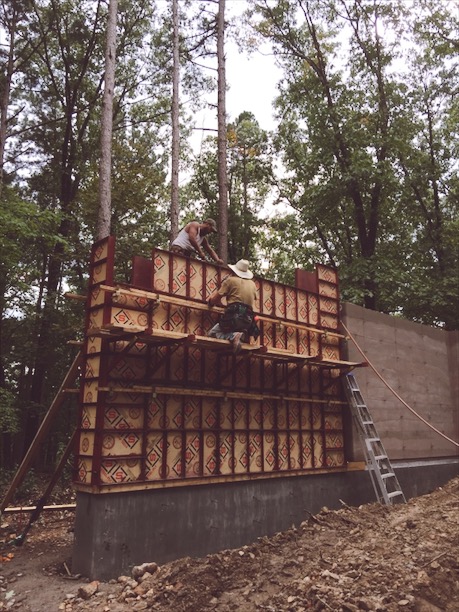
We got a pretty good system down. When we got to the top of this wall we were 14' up!
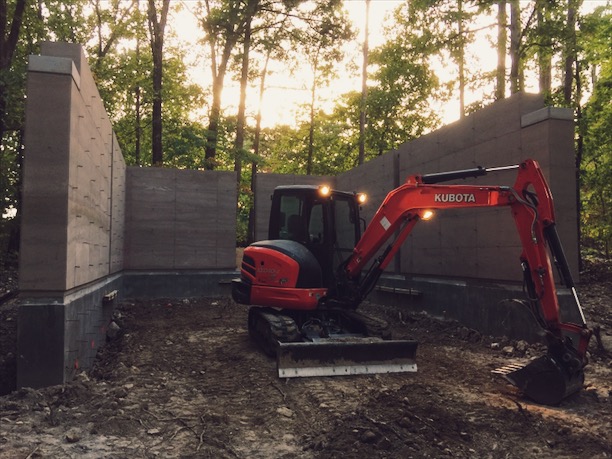
Prepping everything for the concrete slab.
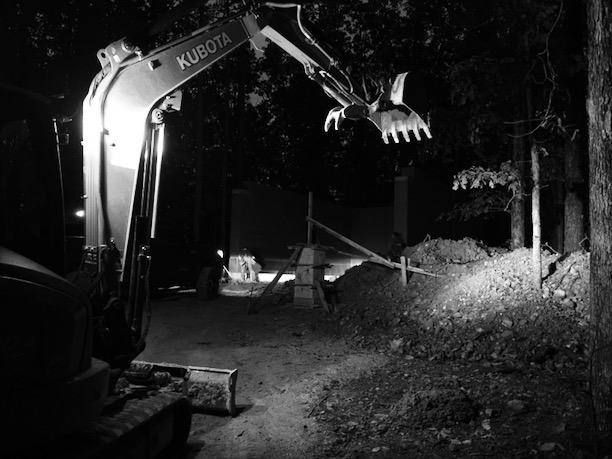
We worked until 2 or 3am placing rebar in preparation for the early morning concrete delivery.

Concrete going in. I overkill everything so here we have a 5" slab with #4 rebar 24" on-center.
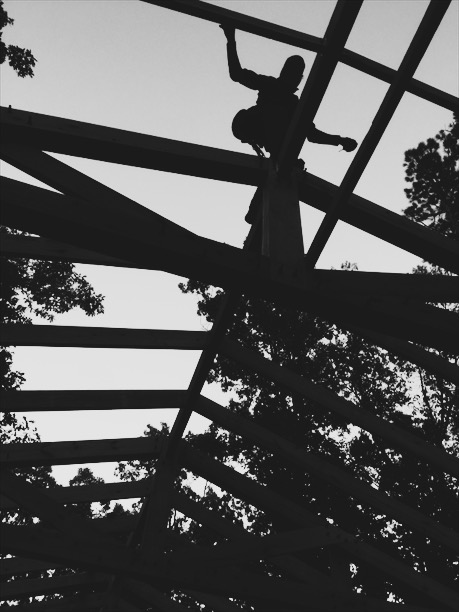
Christian arrived and we went to work on framing the roof. Christian worked for me years ago in Arizona, he is an amazing framer. He pretty much built the roof for the garage by himself.
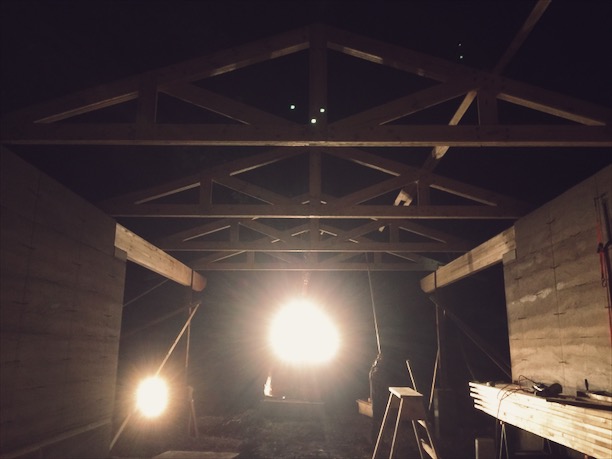
Site-built trusses being set with the excavator, at night no less.
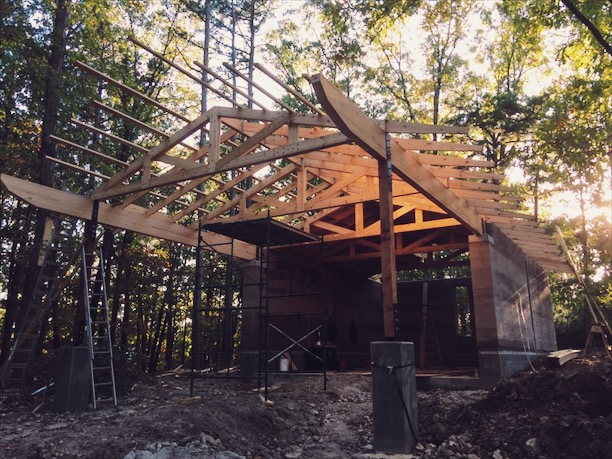
The skeleton of the roof looked pretty cool.
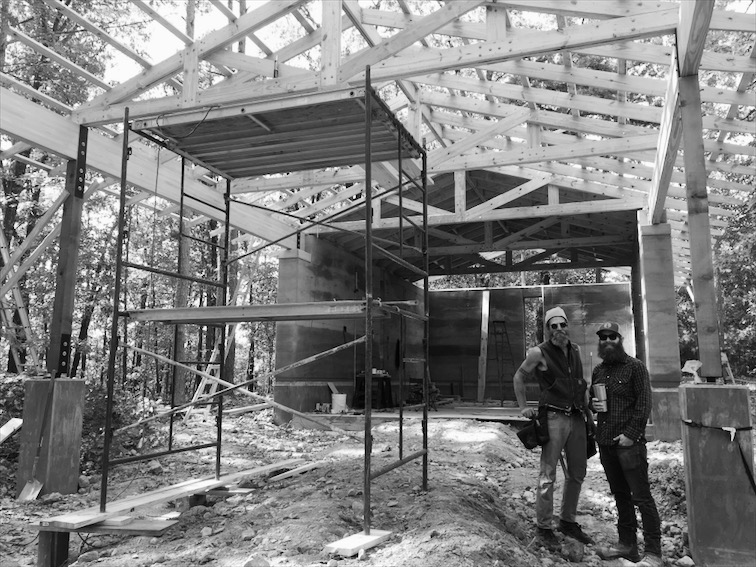
Me and Christian, a brother from another mother.

Plumbing at night.
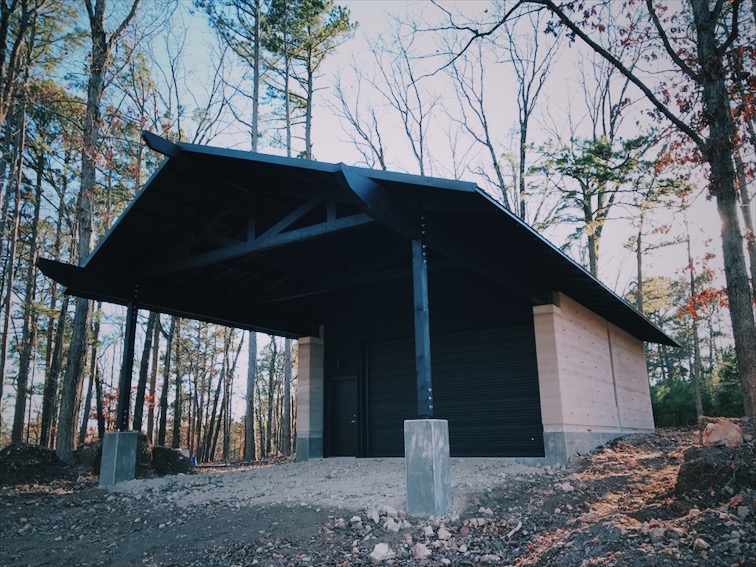
The finished garage, painted!
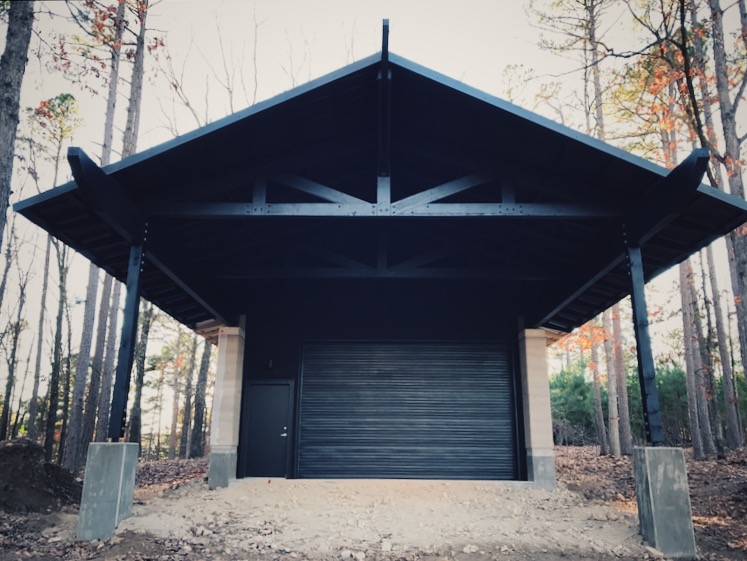
All black everything.
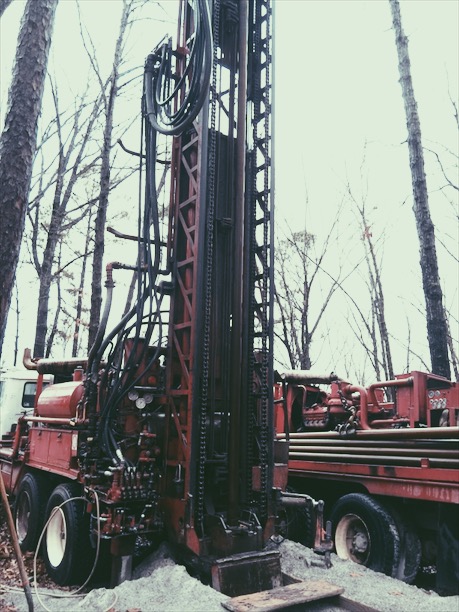
Next was drilling the well, we went nearly 1500' to the aquifer!
The studio build
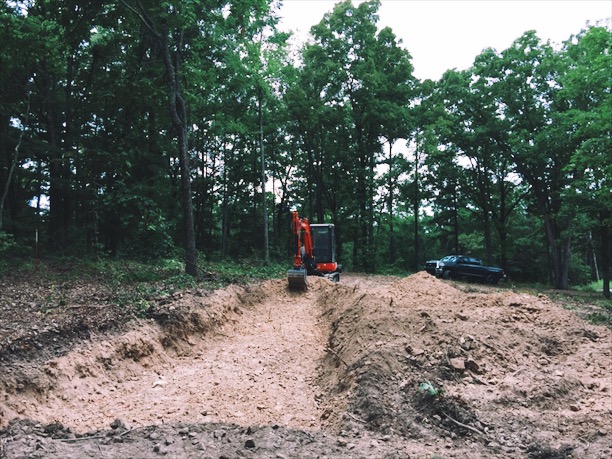
Prepping the site for the studio build. We had to bring in a backhoe to hammer out 3' x 100' of bedrock for the footing. Fun fact, I was swarmed by a nest of yellow-jackets about an hour after this photo was taken. They were by the tree next to my truck. The next day I laughed maniacally as I poured diesel on their nest and watched their world burn. A bit much? Maybe, but I hate yellow-jackets.

Concrete poured into the footing with steel for the stem wall. Steel is real, and I really put in a lot of it.
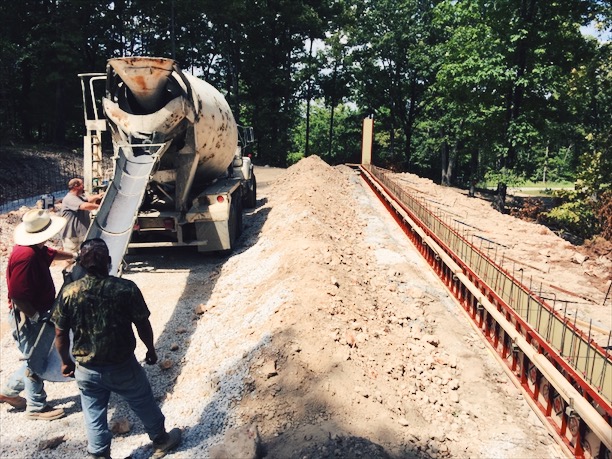
Stem walls about to be poured. This was actually the first time the forms were used, I poured these before I started ramming the walls for the garage. Look how pretty and clean they are!
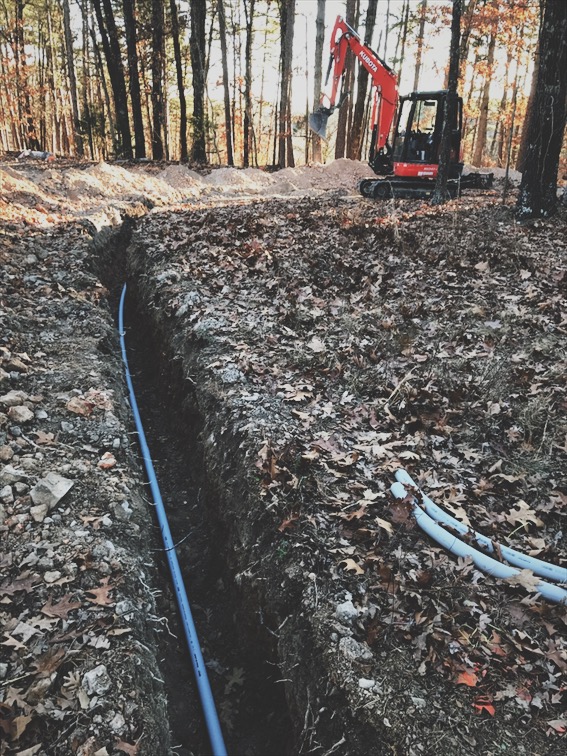
I had to trench over 500' for the electrical service. I only cut my neighbor's internet line 3 times. Also, it snowed the day before and was in the single digits the entire time I was placing the conduit.
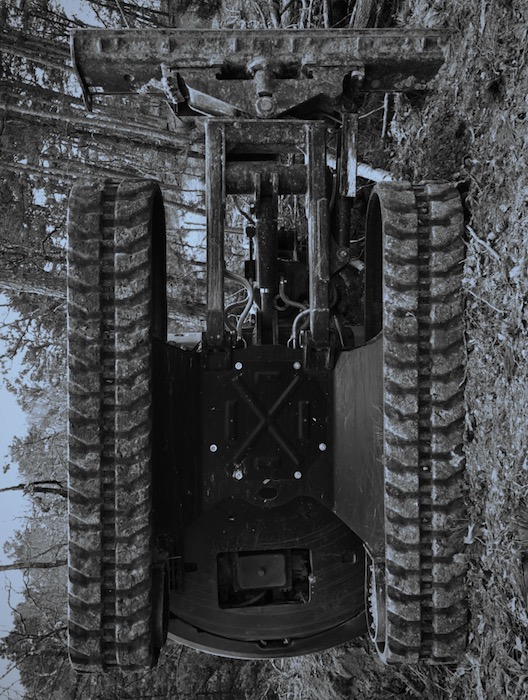
I started clearing the hillside in preparation of the septic lines going in. I tracked over an old stump and as I rotated the cab the excavator rolled over, downhill. Luckily I walked away unscathed. I am going to print this large format and hang it in the bathroom, because, you know, "it" happens.
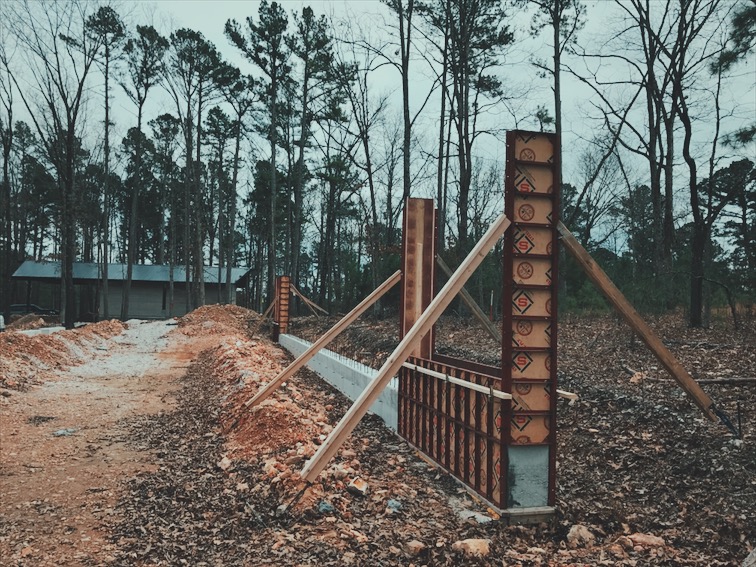
I had to depart for Arizona for several months for business, but once I returned it was back to rammed earth. This was the start.
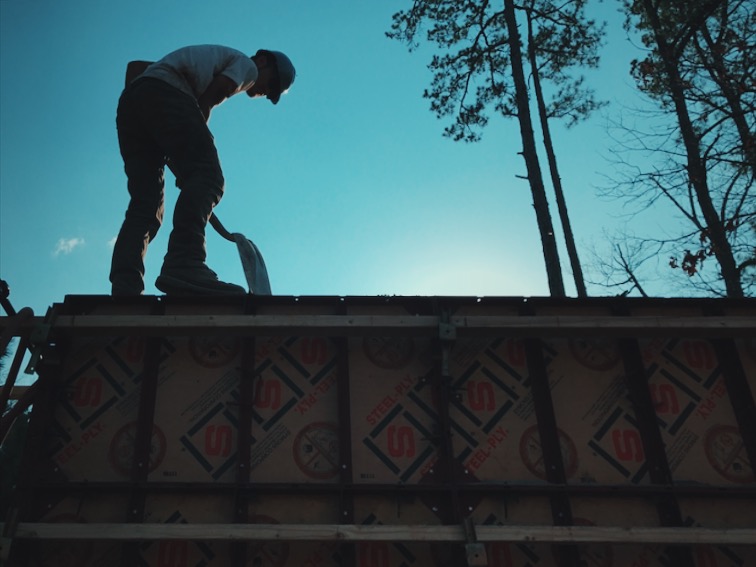
Smoothing the rammed earth mix prior to ramming.
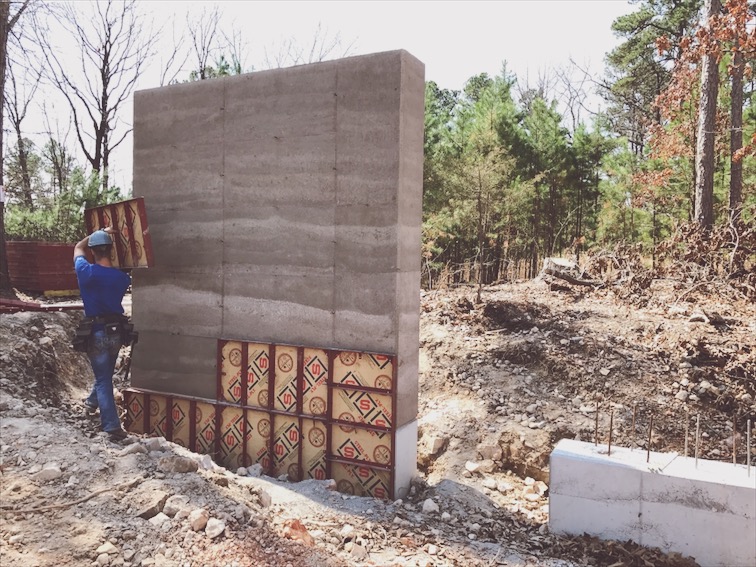
Stripping forms. The layers and texture are what I love about rammed earth. It's as real a material as you can get.
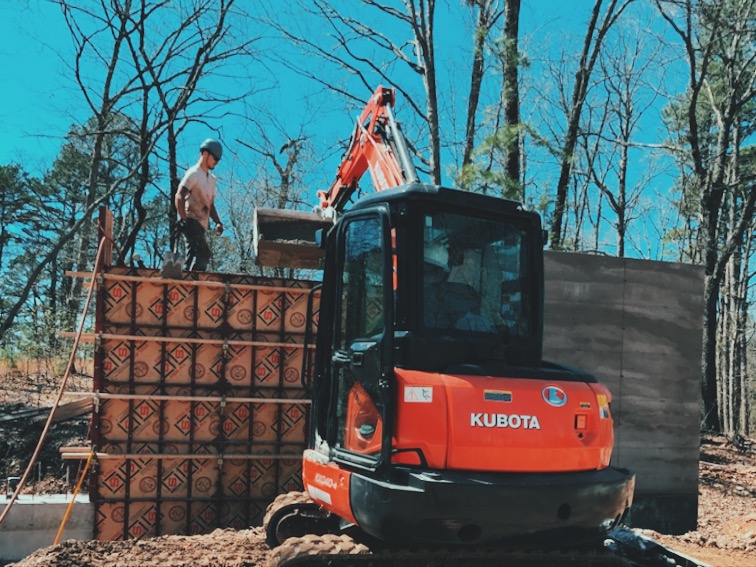
Mix, load, ram, repeat. It became a meditation in the hot summer sun.
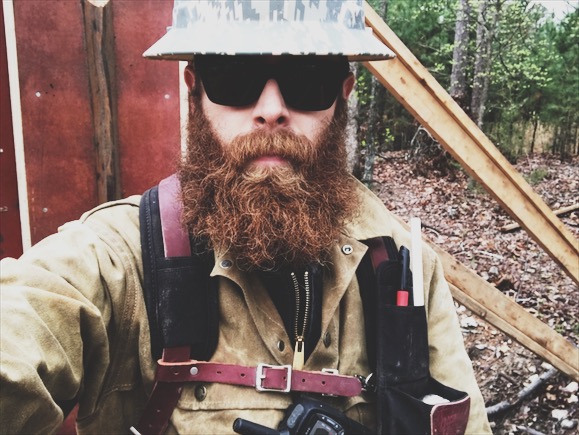
With the sun comes the rain, and we worked in the mud, because progress.
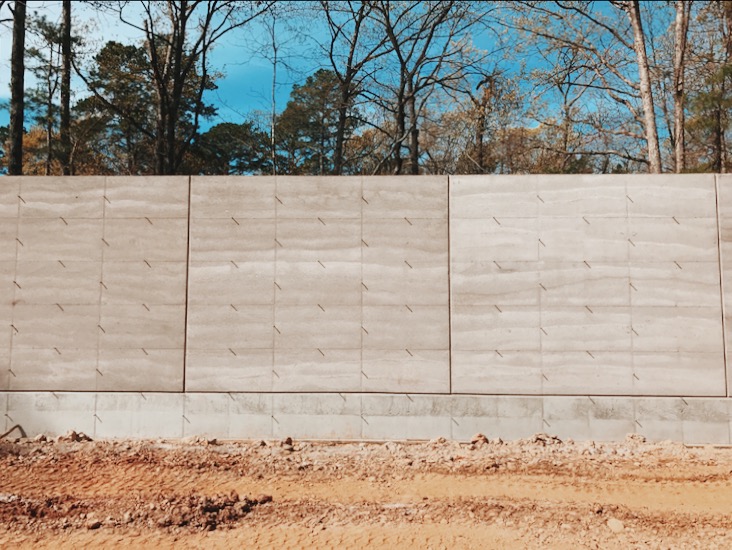
I like the looks of that! Those little shadow lines are from the form ties protruding out of the walls.
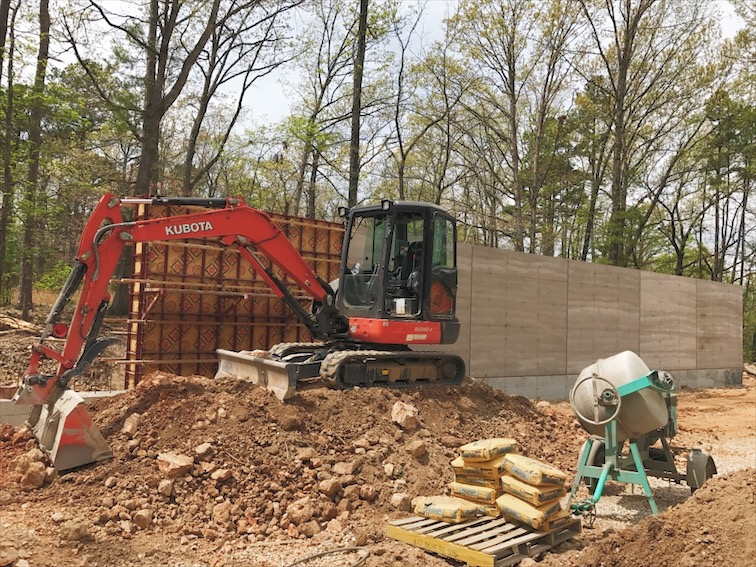
Mixing and pouring concrete window sills.
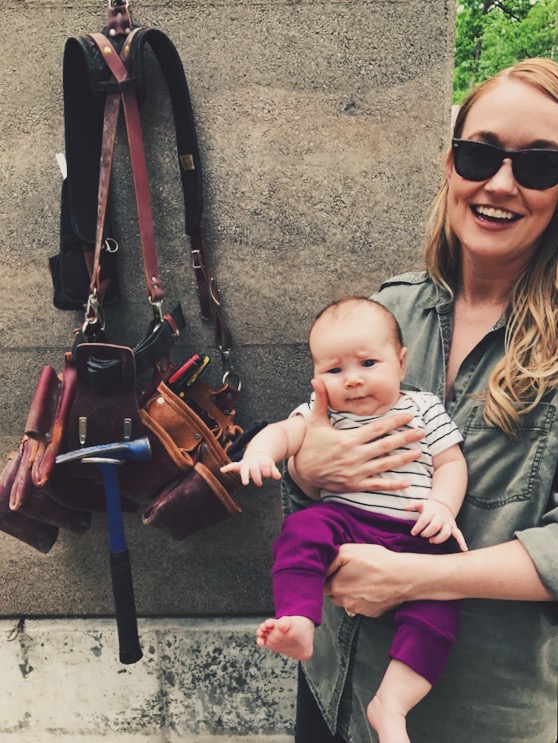
During the build process my wife got pregnant and we had a little girl, Leola. Here they are making a site visit to ensure I'm still alive.
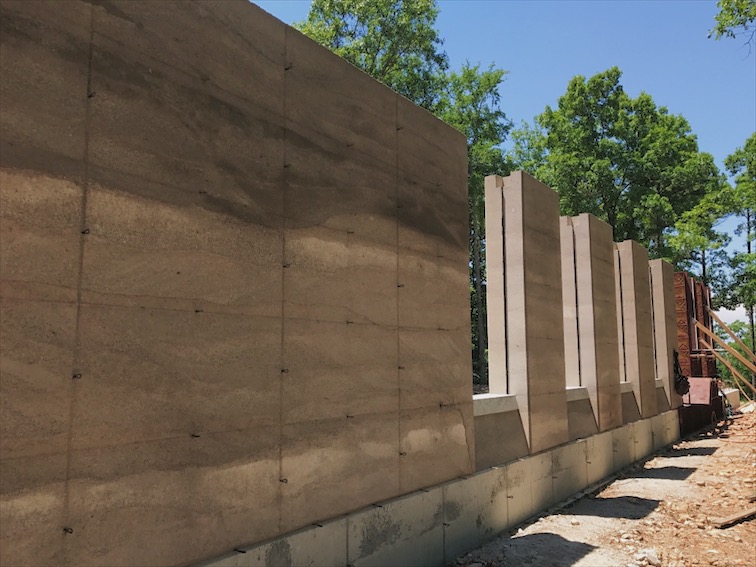
"Wallumns" + poured in place window sills. That little detail was far more complex than many realize.

The compressor that powers the rammer. Germans make good tools, this one has a Kubota diesel engine and is super quiet.
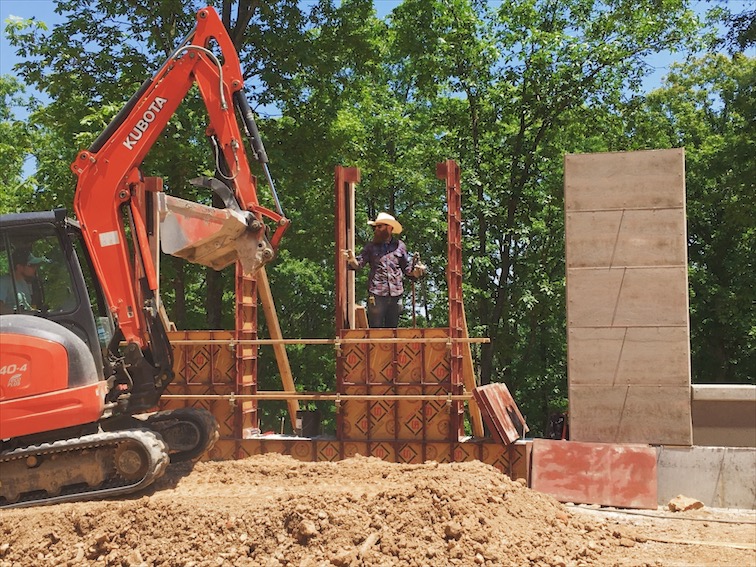
Loading mix into the form - hey, that's me, BG!
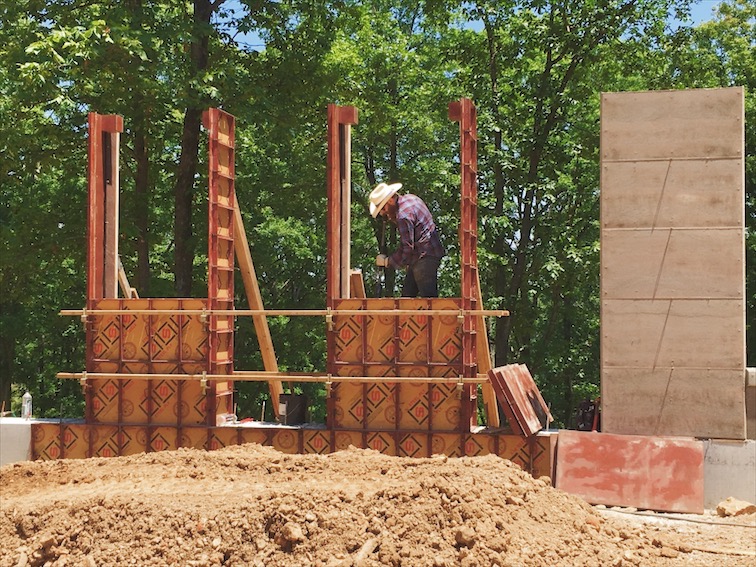
Ramming a wallumn.
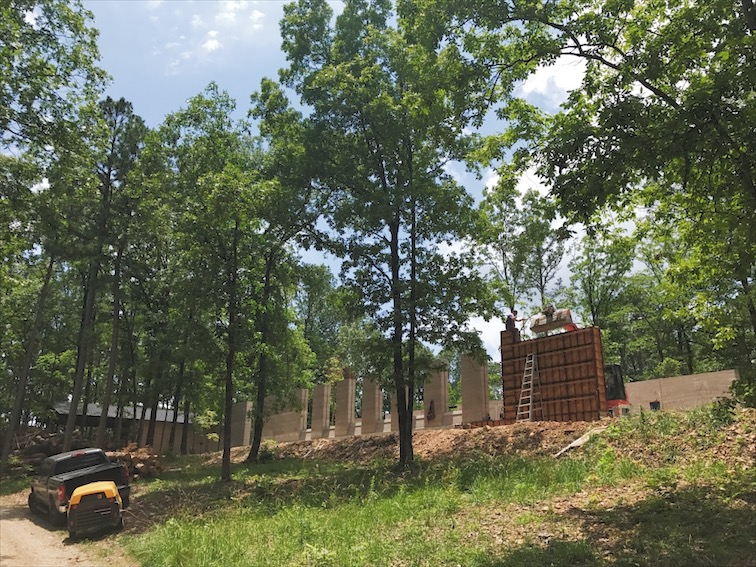
The site before we excavated the hill for parking.
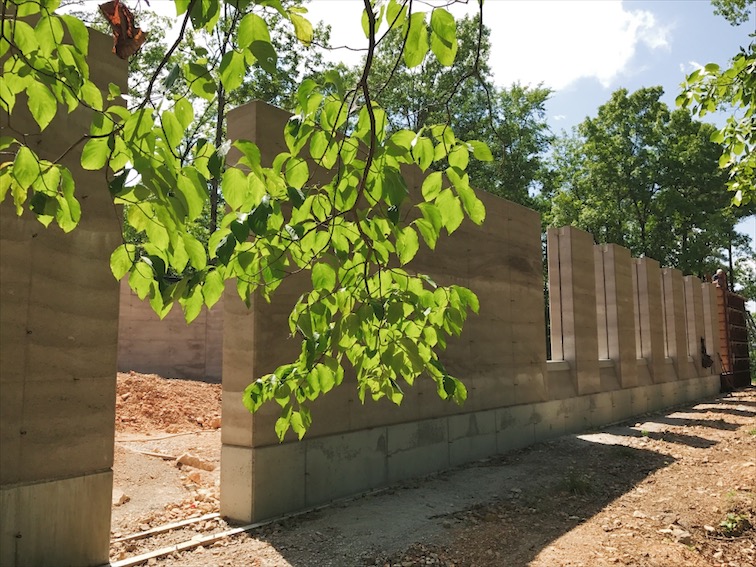
Wallumns completed.
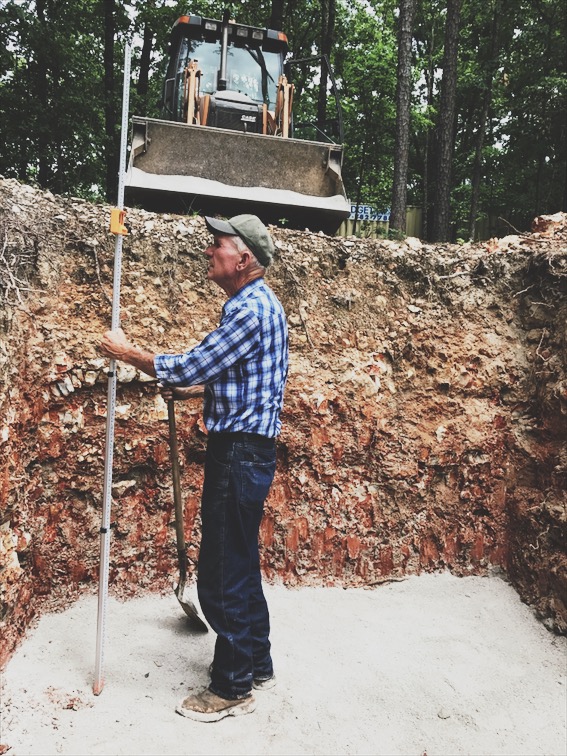
Here is Buck Pyatt helping me with the septic install. This man is my spirit animal, his work ethic is unrivaled.
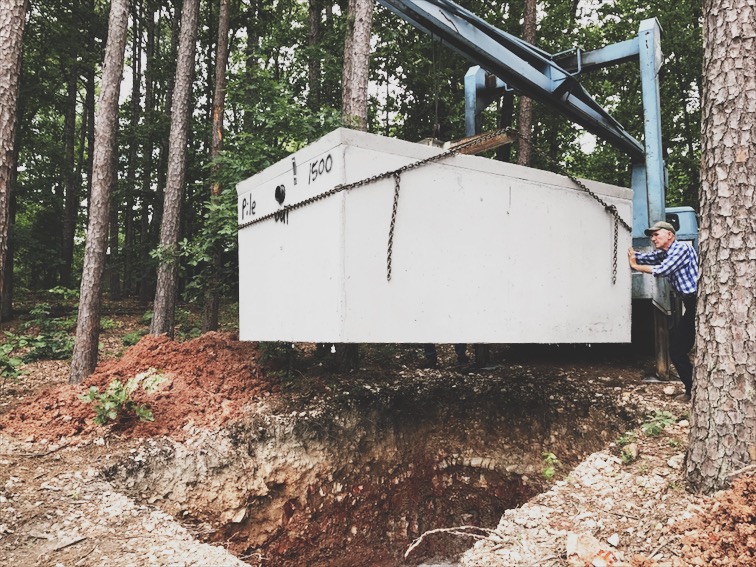
A big tank since we hold big classes! No one wants to have an undersized septic tank when there are 25+ people in the workshop.
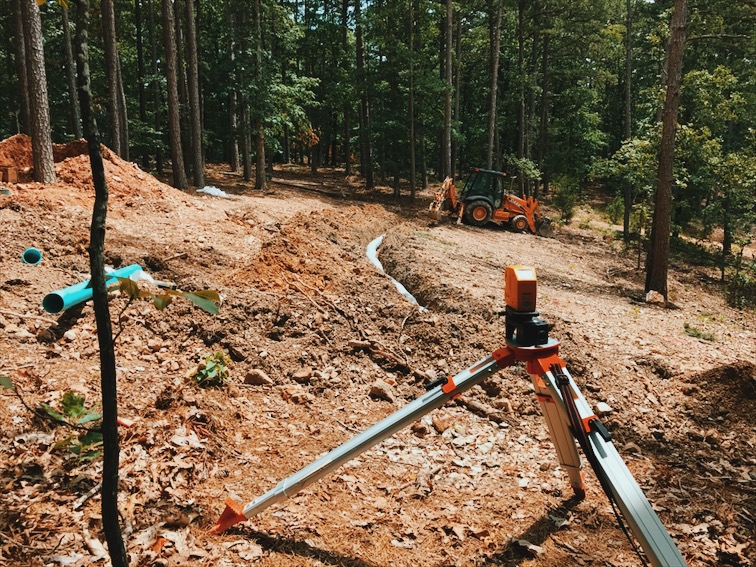
Installing the septic lines. This is where I rolled the excavator.
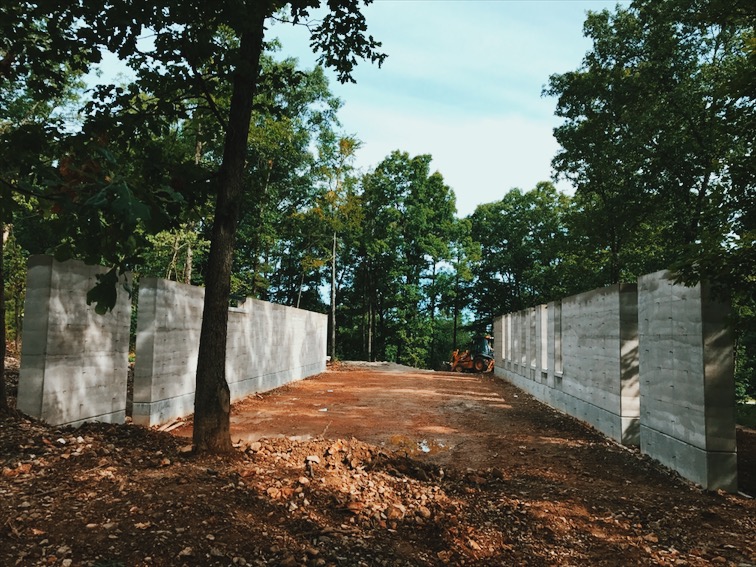
The inside of the studio cleared and leveled in preparation of the concrete slab.
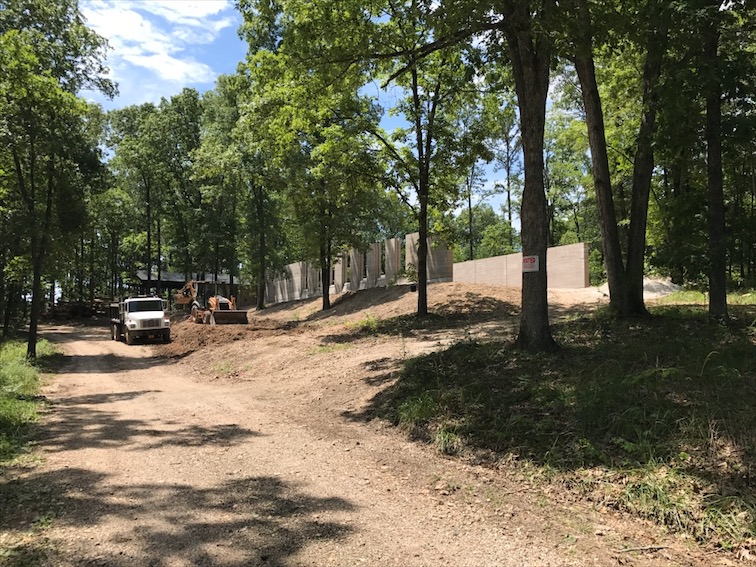
Buck excavating the hillside for parking. We probably hauled off 20-30 dump-truck loads of dirt!
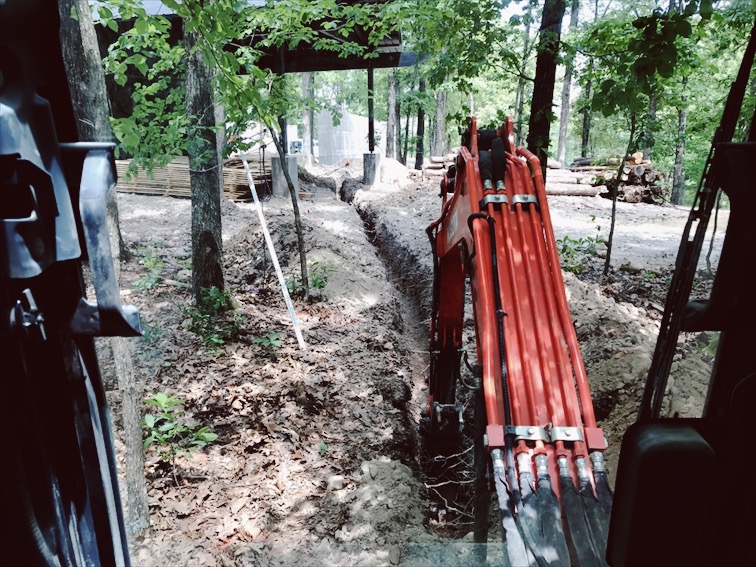
Me trenching for the sewer lines. Threading the needle through the garage columns.
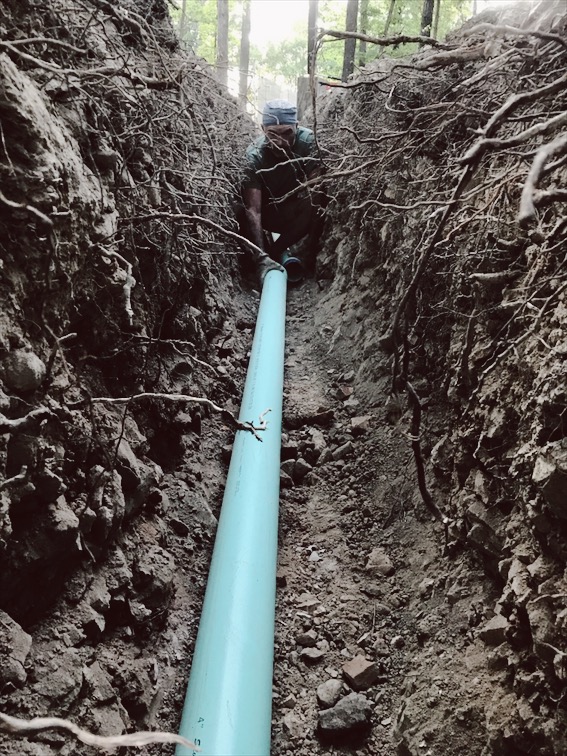
I set hundreds of feet of sewer line, and then backfilled.
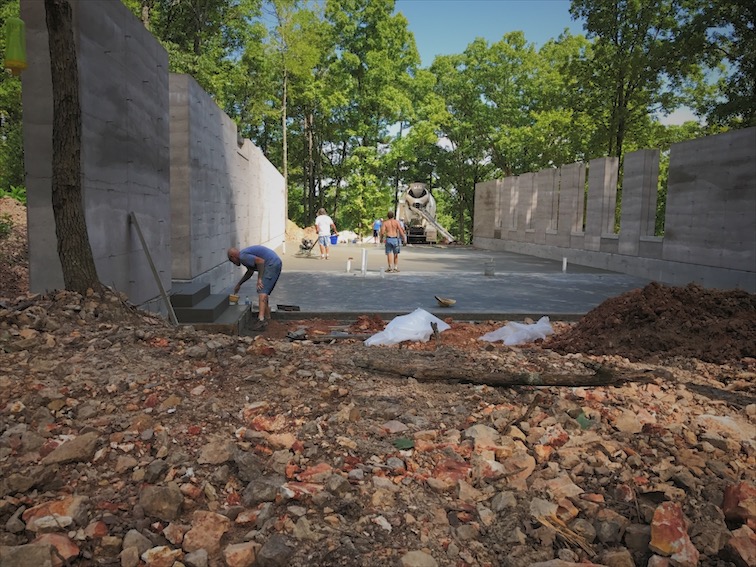
Concrete finally going in!
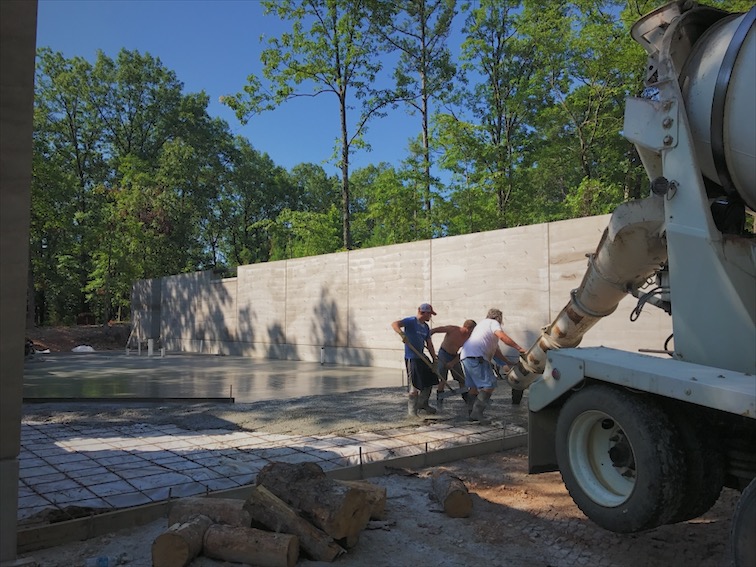
Teamwork makes the dreamwork.
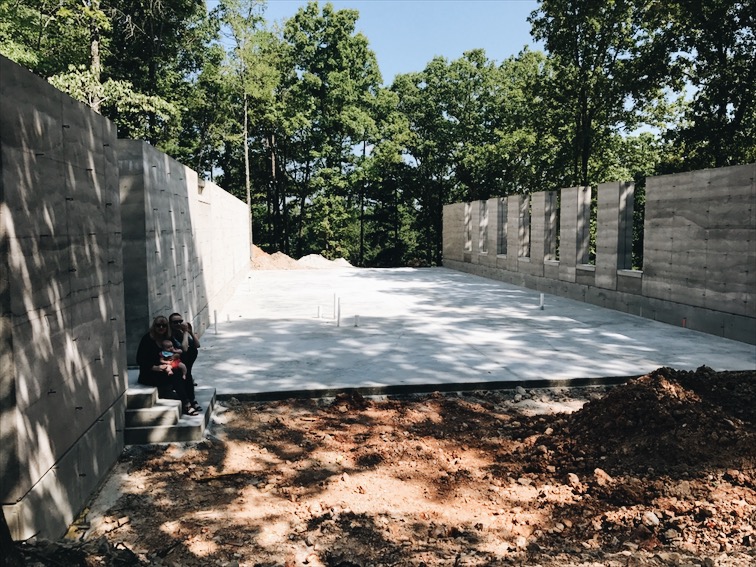
The slab.
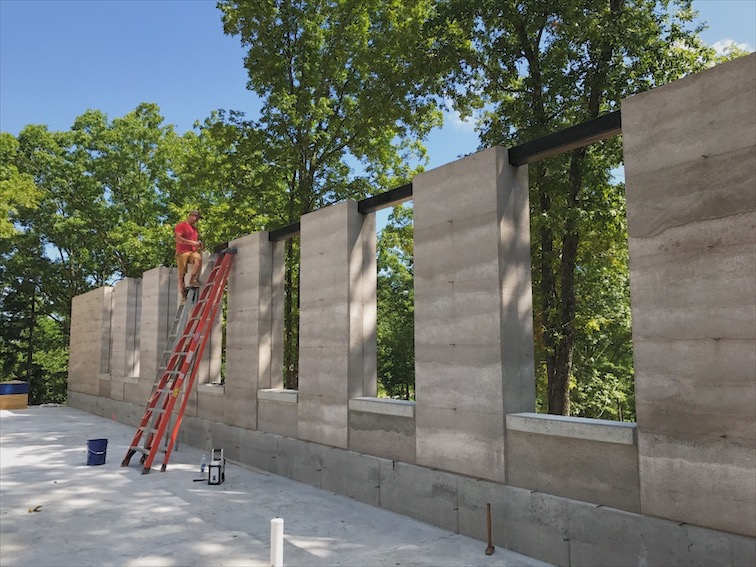
Aaron and I setting the steel lintels for the studio windows.
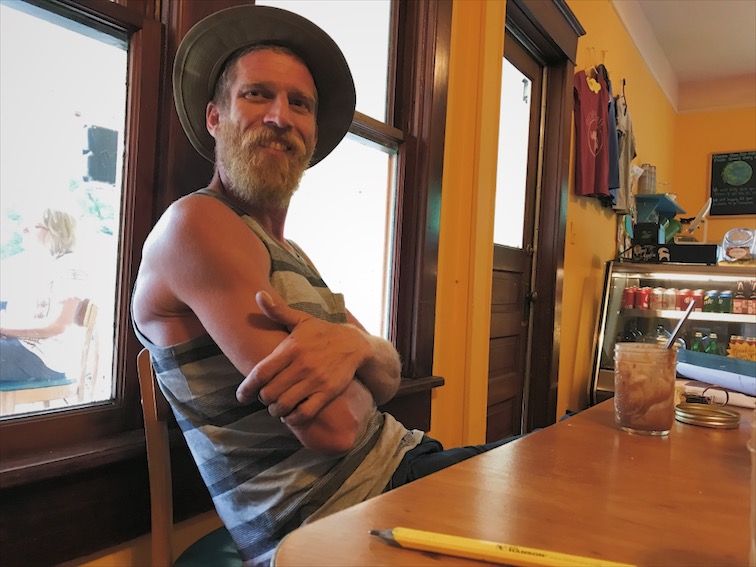
Christian drove down from Minnesota to start framing. We had lunch at Oscar's Cafe - this would be the last time he would smile for 12 weeks.
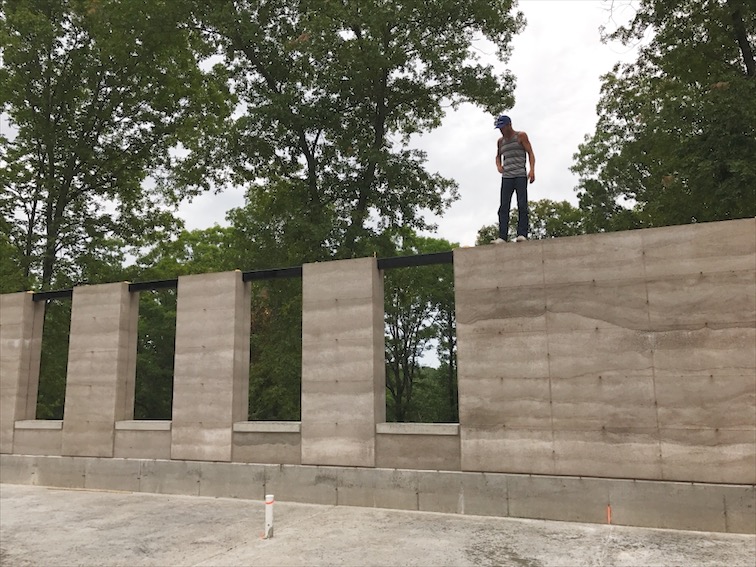
Christian seeing the studio for the first time. If he knew what was in-store he probably would've left.
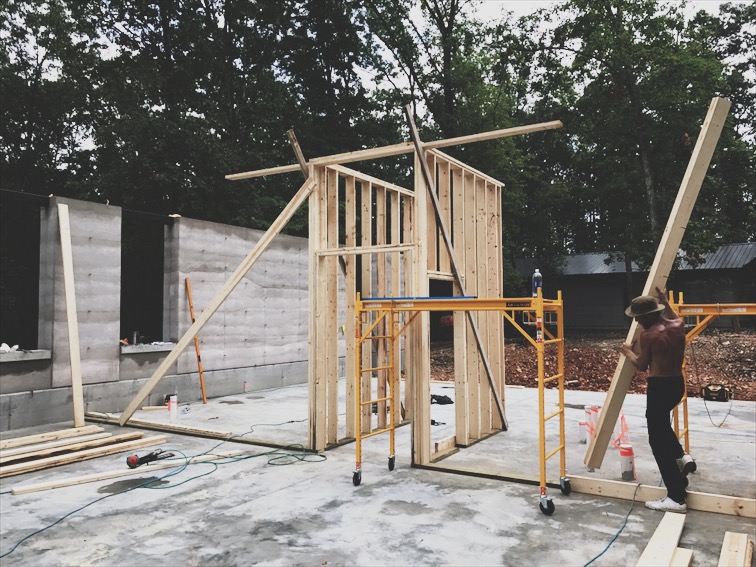
The first framed walls going up.
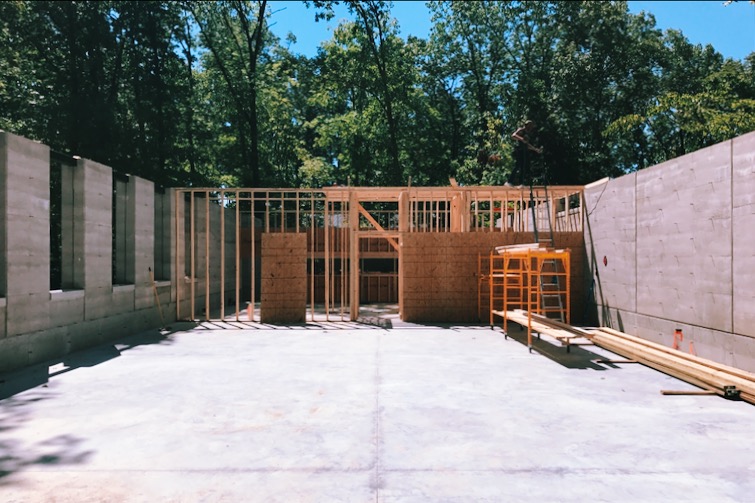
Progress.
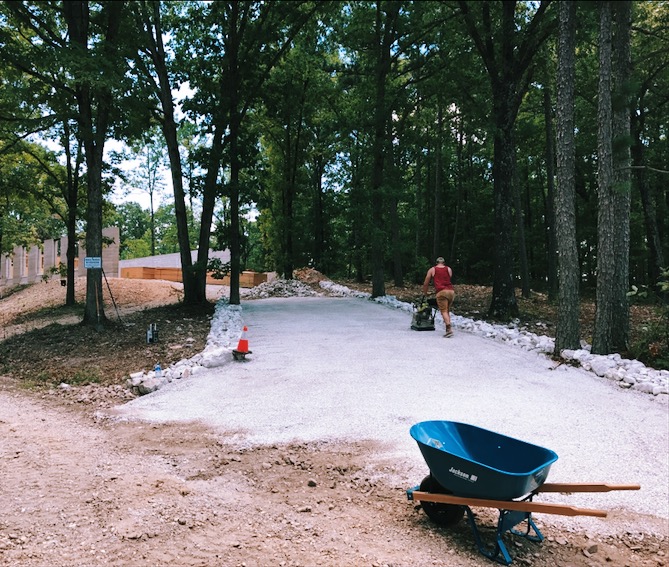
Aaron and I put in this driveway over the three hottest, most humid days of the summer.

Christian walking the walls.

Erin and Leola stopped by, she's bigger here.

Proud poppa!
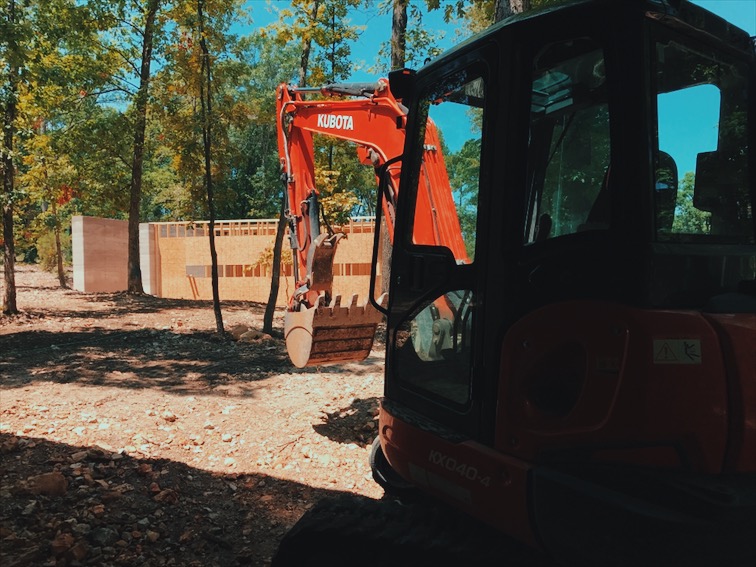
I cleaned up and leveled the dirt between the garage and the studio. Before this it was like one of those Warrior Race Courses walking through here.
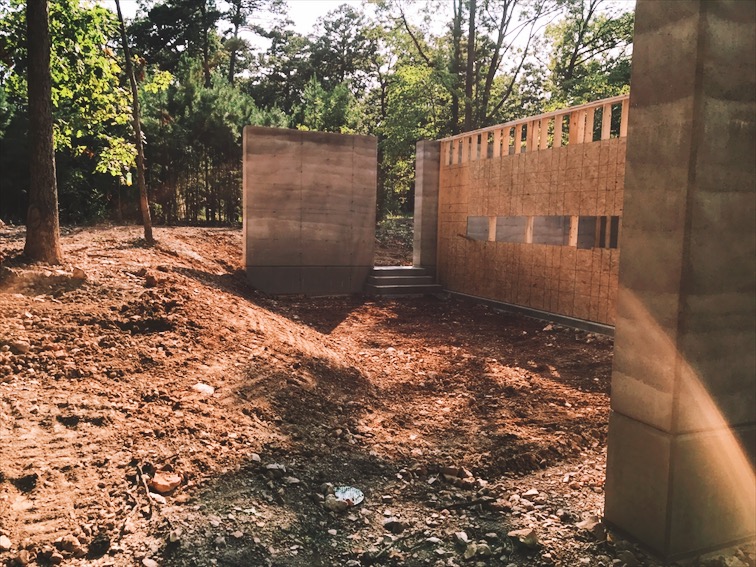
Grading may be easy for guys that operate equipment for a living, but this was a pretty big accomplishment for me!

Custom laser cut gusset plates for the trusses, made from 0.25" steel.

Truss assembly underway, 12' up on a platform. 1,100 nuts and bolts, 2,200 washers!
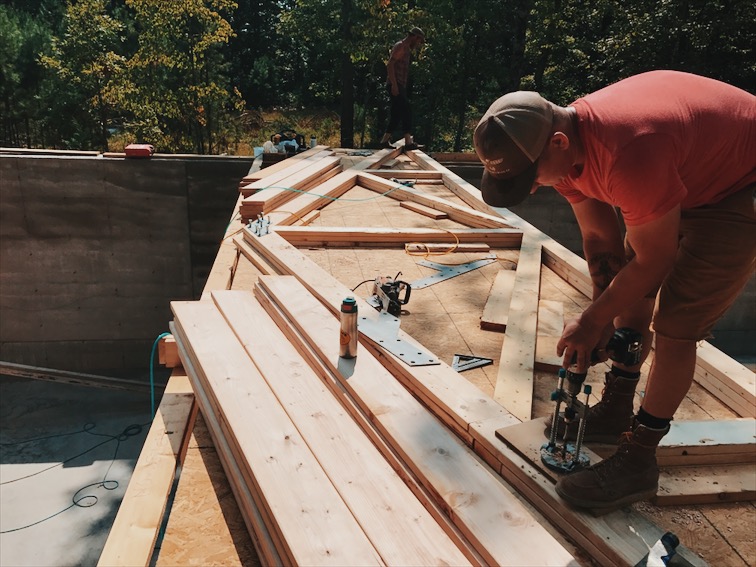
Aaron drilling, pounding, tightening.
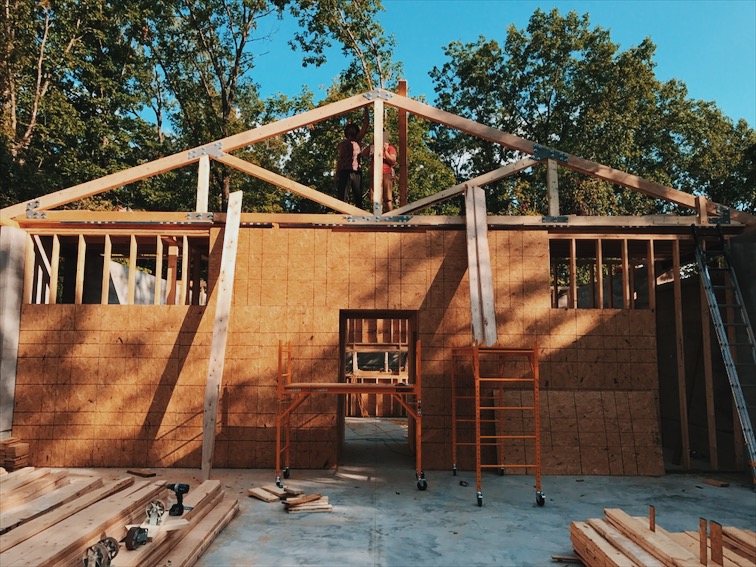
The first truss tilted up!

Christian, the madman that he is, devised a way to "roll" the trusses down the wall on skates. Unbelievably to everyone involved, it worked!

Easy does it.
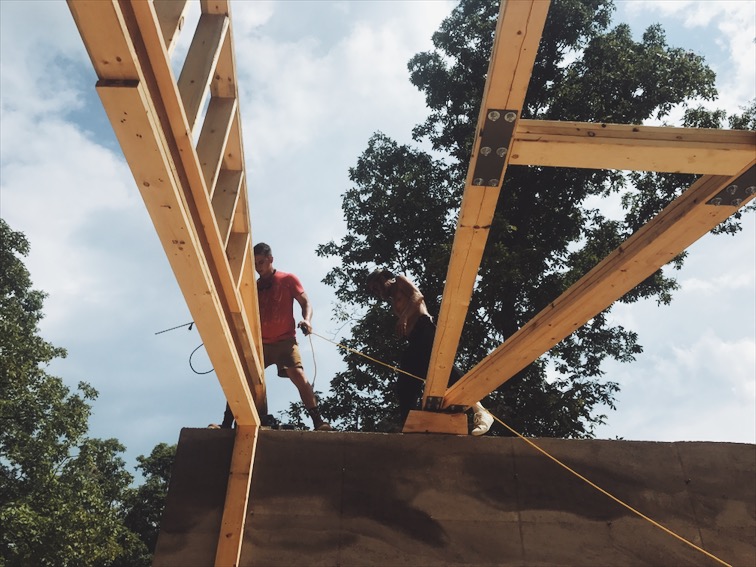
Traffic jam.
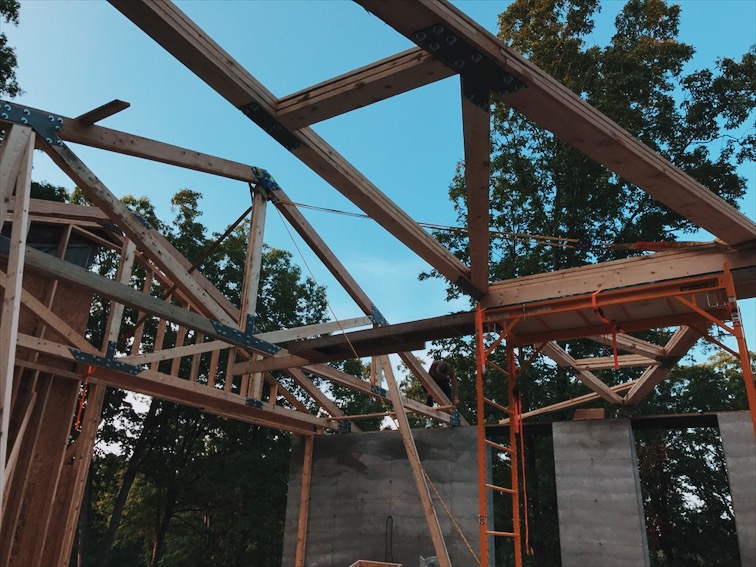
We used old school rigging to raise the trusses.
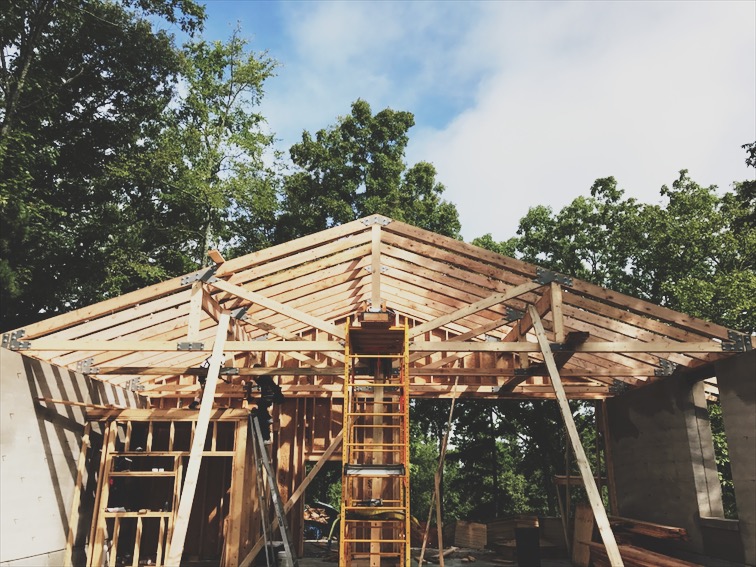
There is beauty in repitition.

Sheathing going on - peekaboo, I see you, Ben.
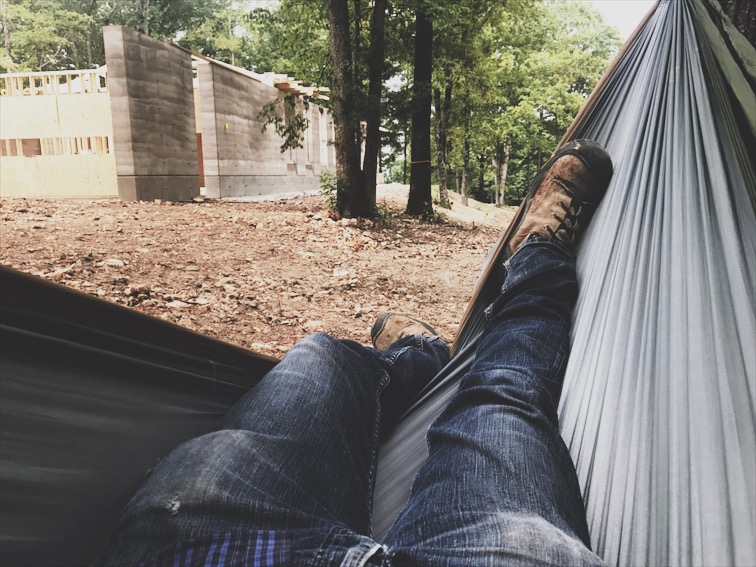
Siesta.
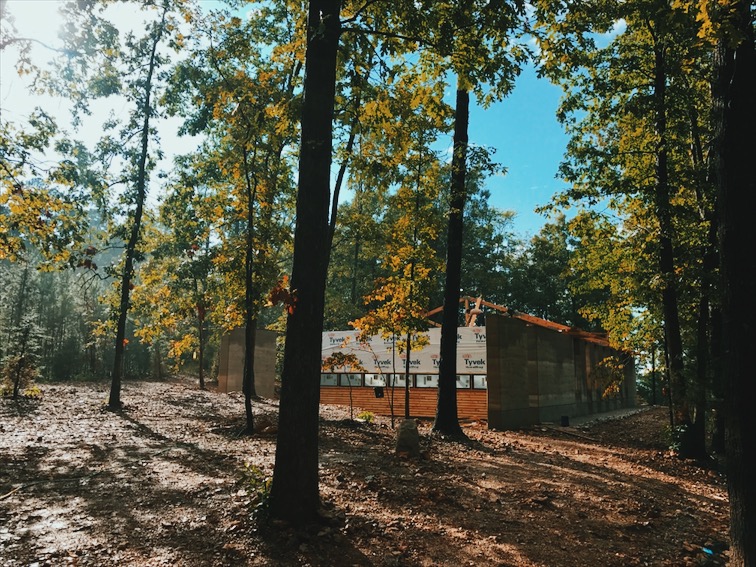
I love the light here.

Installing the rough sawn pine cladding made from the trees we removed from the build-site. Of course it rained non-stop for the entire week we were doing this, note the soggy cardboard boxes we're standing on. They didn't help for long, sooner or later you embrace the mud.
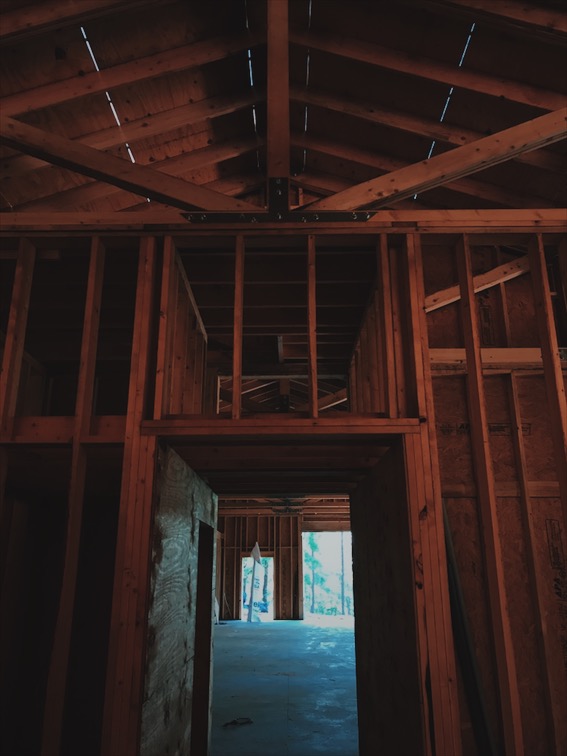
First look inside.
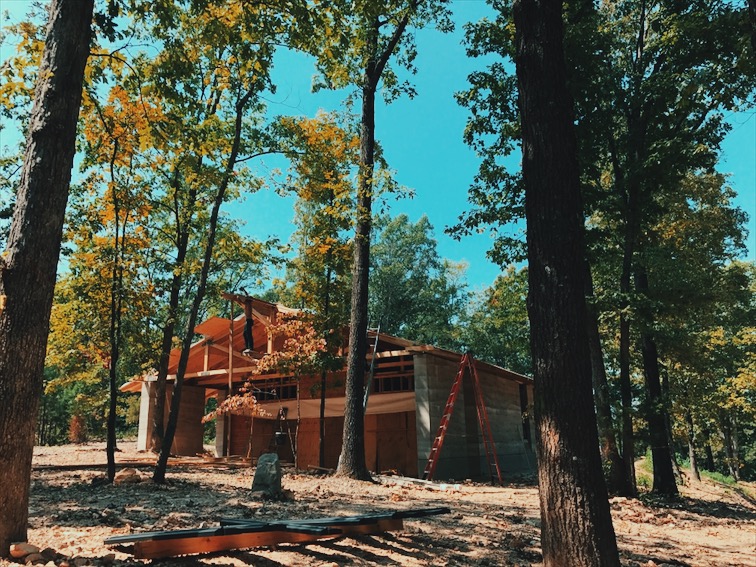
The roof being framed over the rear patio area.
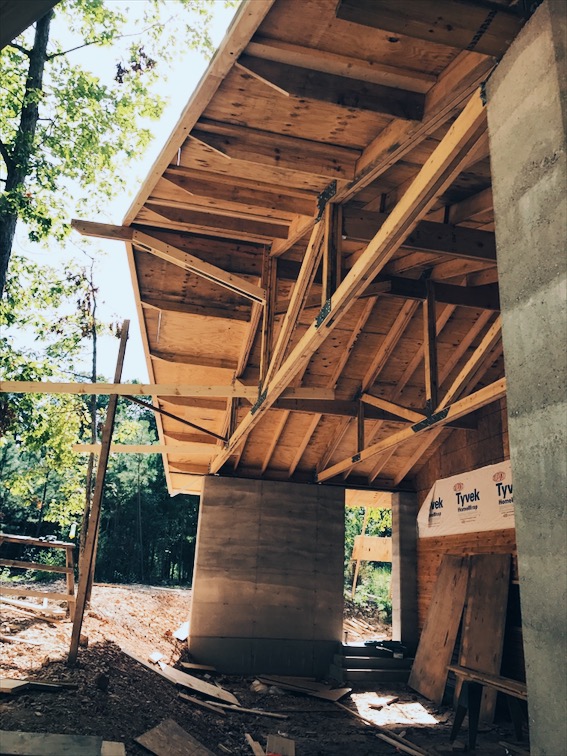
The details are everything, and they are what takes all of the time.

Me, installing electrical lines and can-lights in an insanely hot shop. I was wearing sunglasses because I didn't have any safety glasses and I was cutting plywood directly overhead. The headlamp was because I was wearing sunglasses inside.

The interior.

Rex, the plumber, doing what plumbers do.
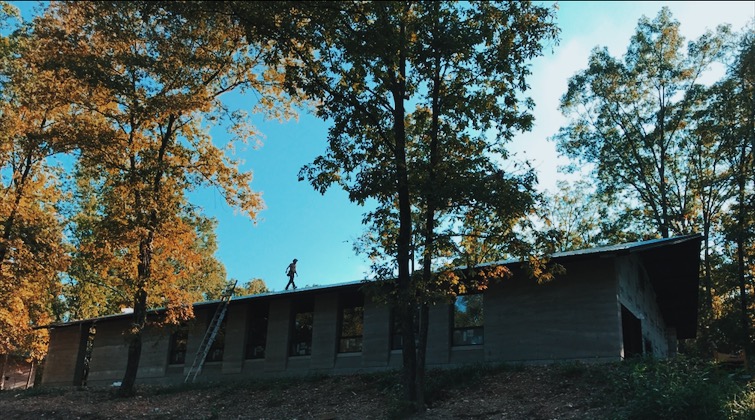
The black metal roof going on.
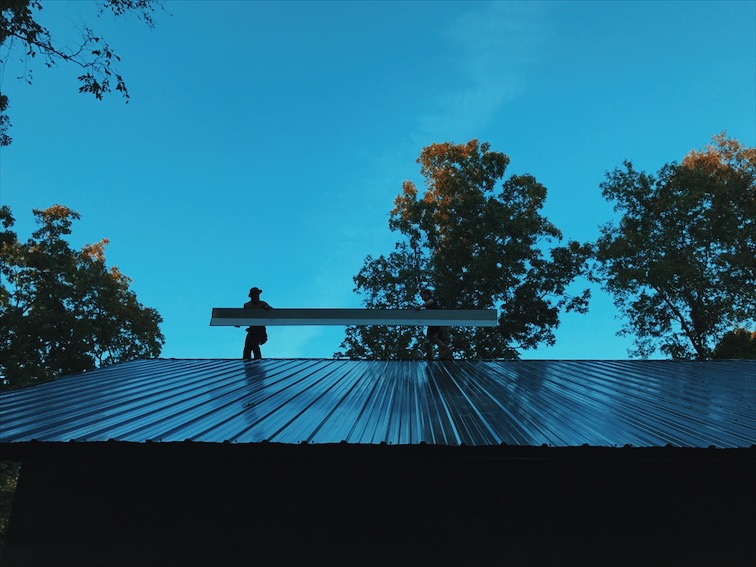
Christian and Aaron installed the ridge cap.
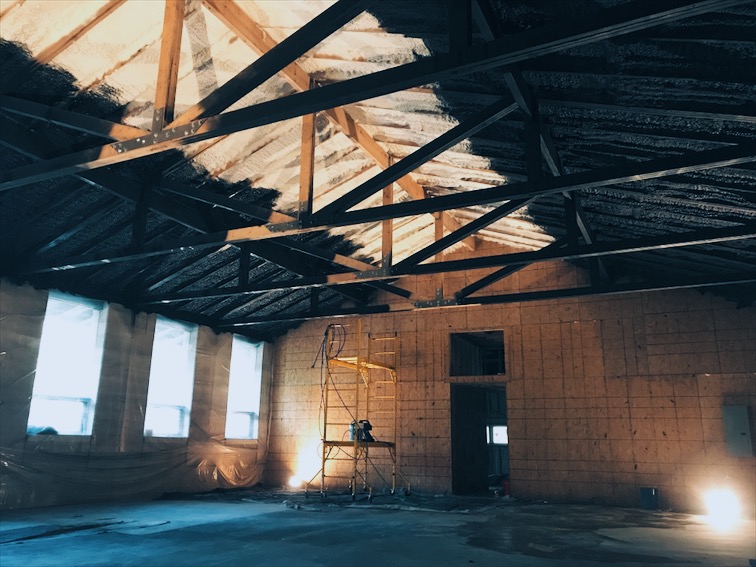
If you ever feel inspired to paint a spray foam ceiling black, don't, it's an excercise in misery. I spent 3 days on scaffolding, by myself, looking straight up at black paint dripping back in my face. I sprayed about 35 gallons of paint total on the ceiling.

Drywall getting installed.

Milling lumber.
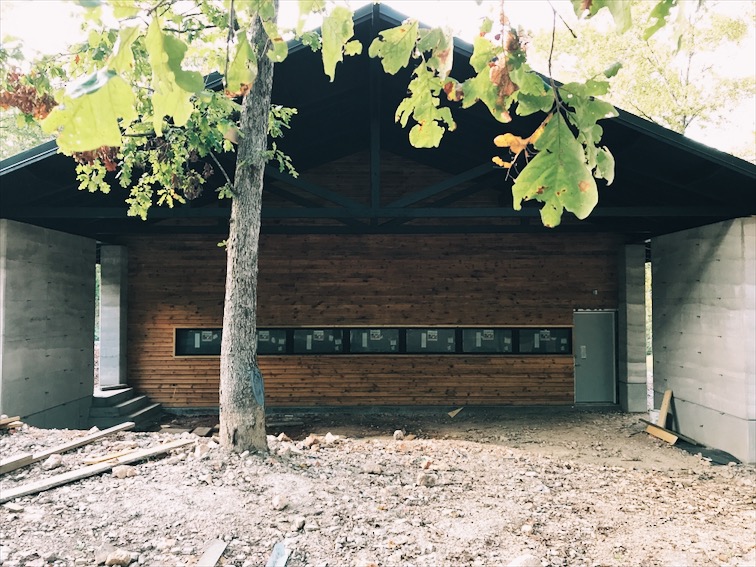
Wood siding done!

Hello there stranger, are you lost?
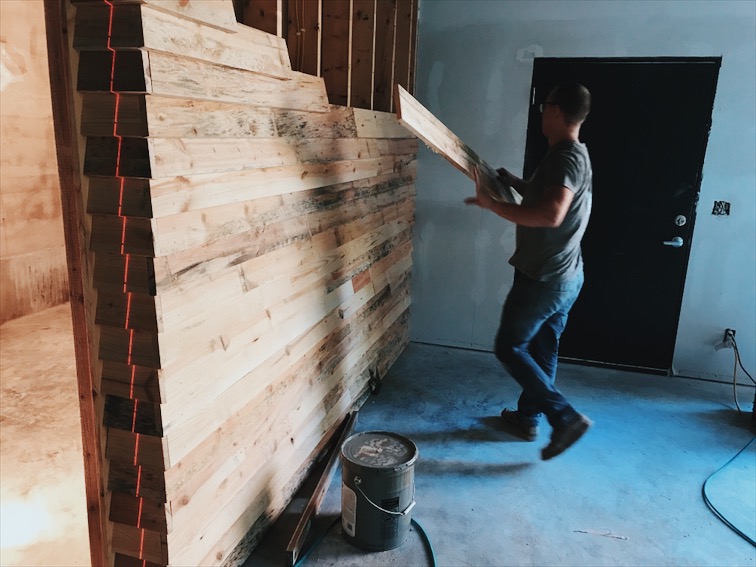
Aaron and I cladding my office with the site sawn pine siding. Note the laser line, every nail was perfectly aligned because I am crazy.

Concrete floors getting polished.
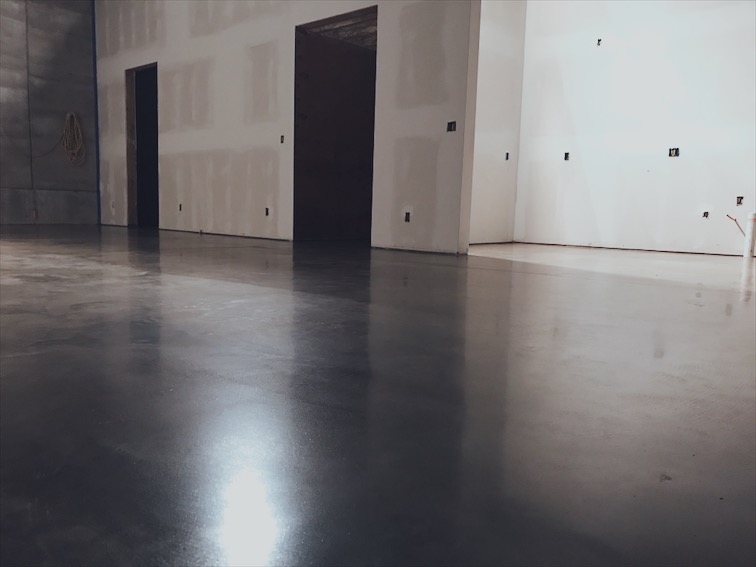
Noel Moniot out of Little Rock does a great job on floors!
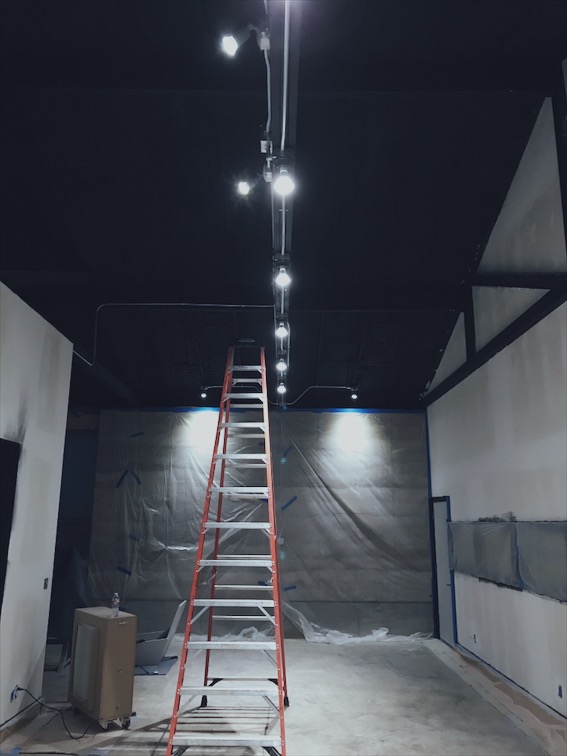
I bent all the conduit and wired all of the lights. If concrete doesn't work out I'm going to go into the conduit bending business, it is very satisfying.
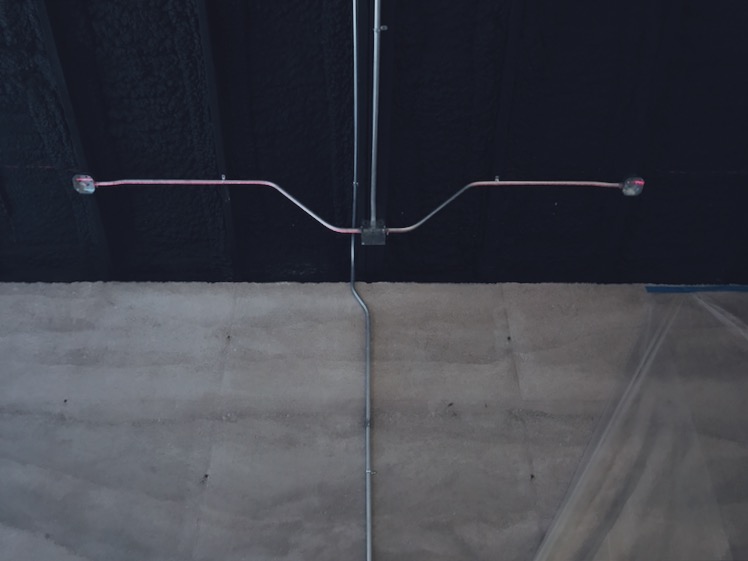
Alignment is everything, I even use a laser for conduit. Sweat the small stuff.
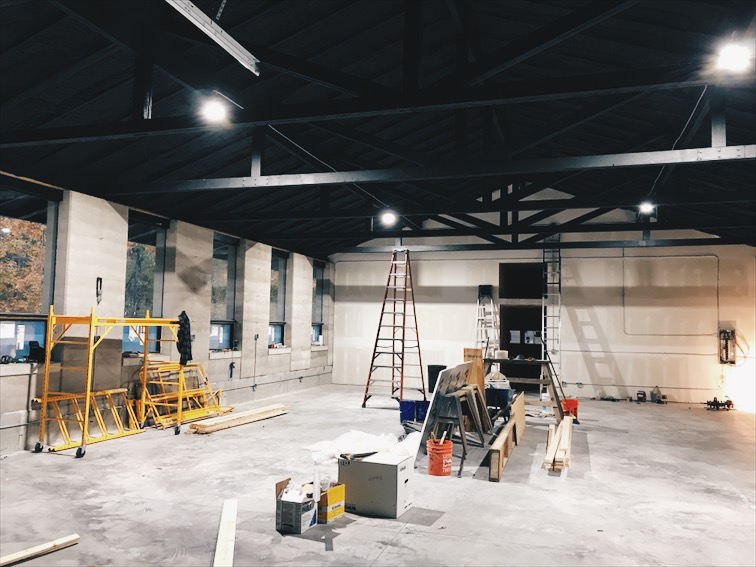
The move-in rush just days before the first class to be held at the new studio!
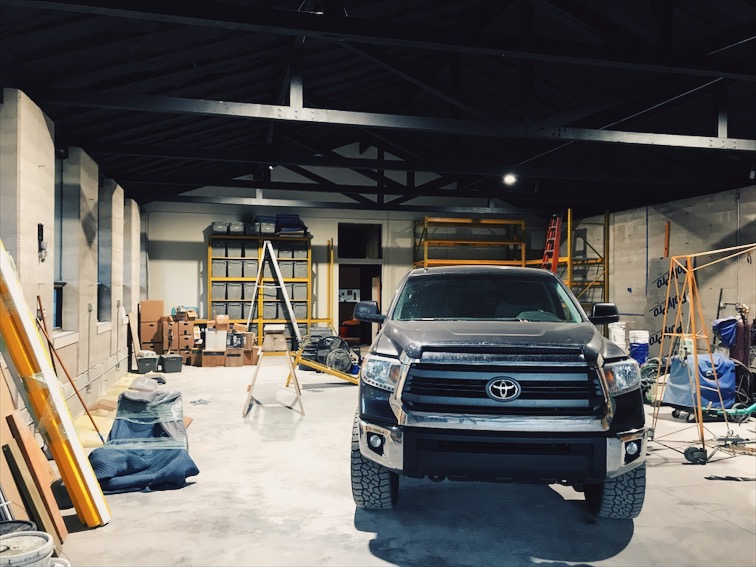
No one said it was easy.
The studio now
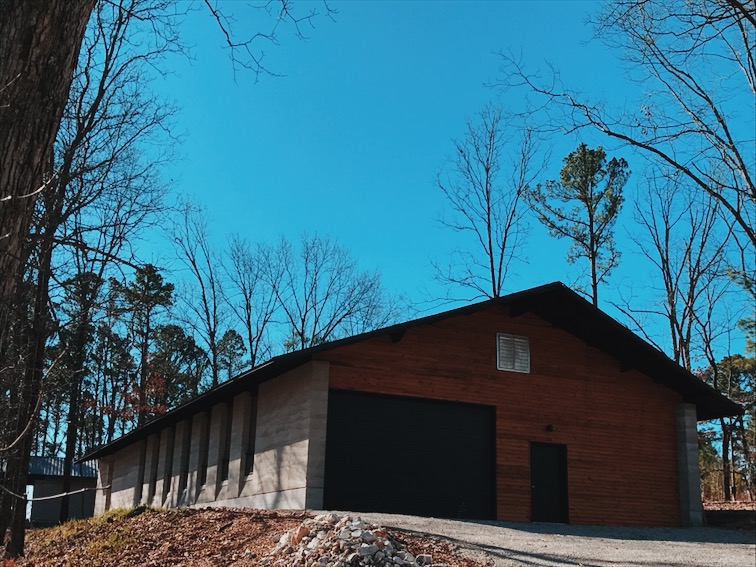
The studio on the hill.
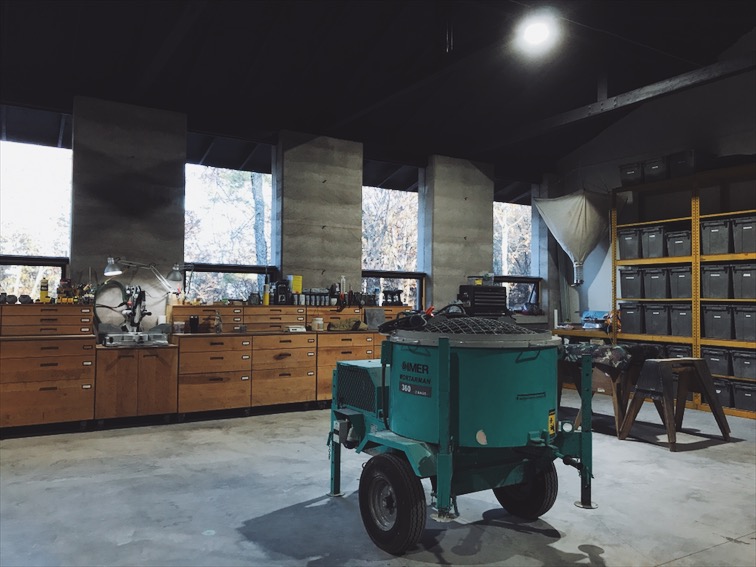
The studio, set up and ready for the first training event.
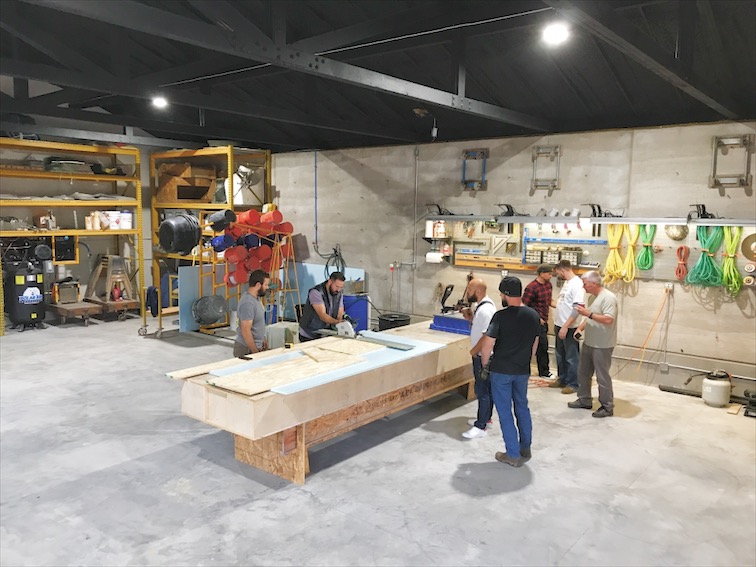
The first class. I hooked up the air compressor minutes before this photo was taken, that's how close we cut it!
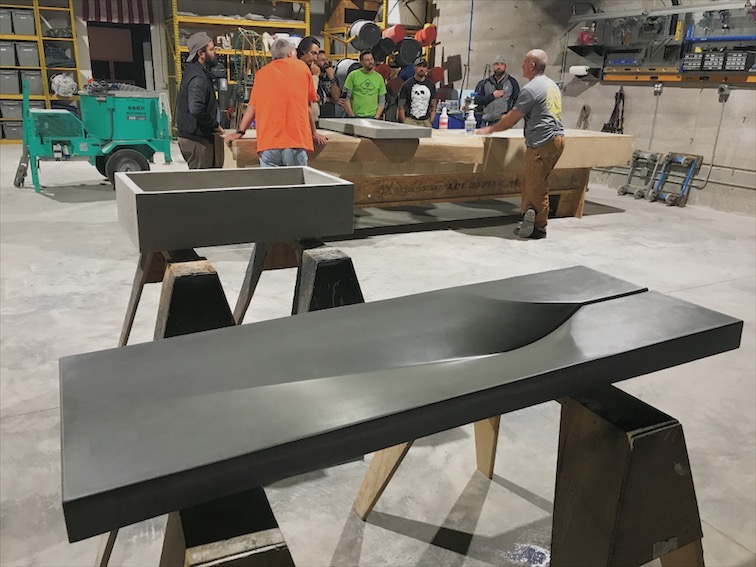
The innagural class was a great success!
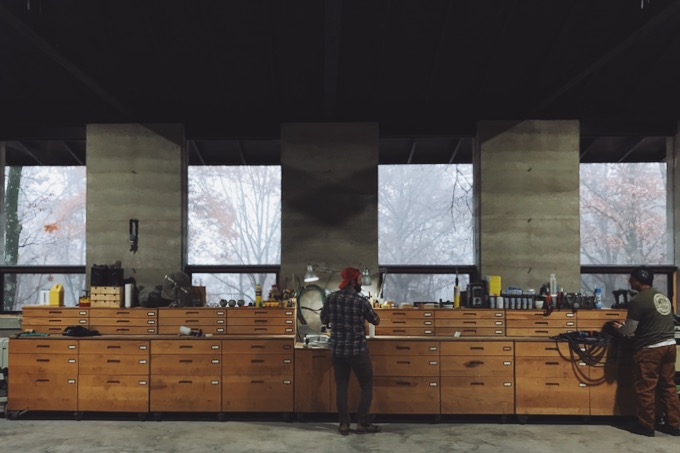
A foggy morning. I love the light that comes into the space through the 4' x 7' windows.

Jon Schuler taught his Upright Casting Techniques (UCT) Workshop for the opening class.
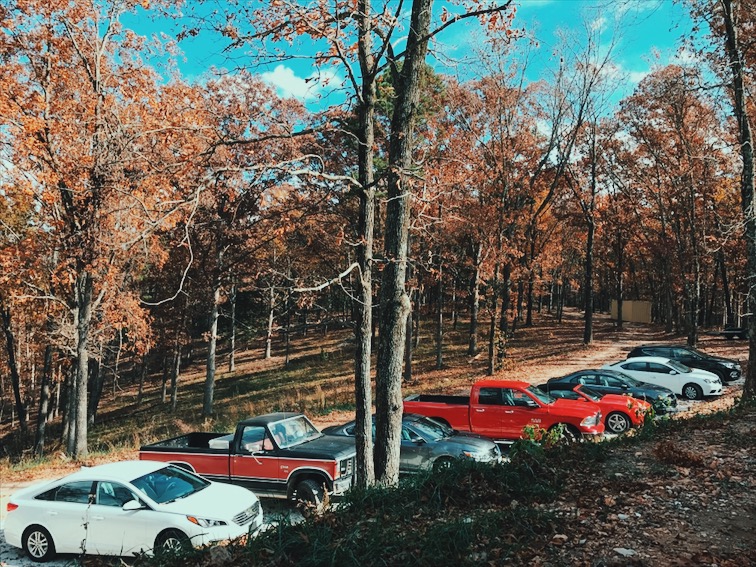
Parking, check.
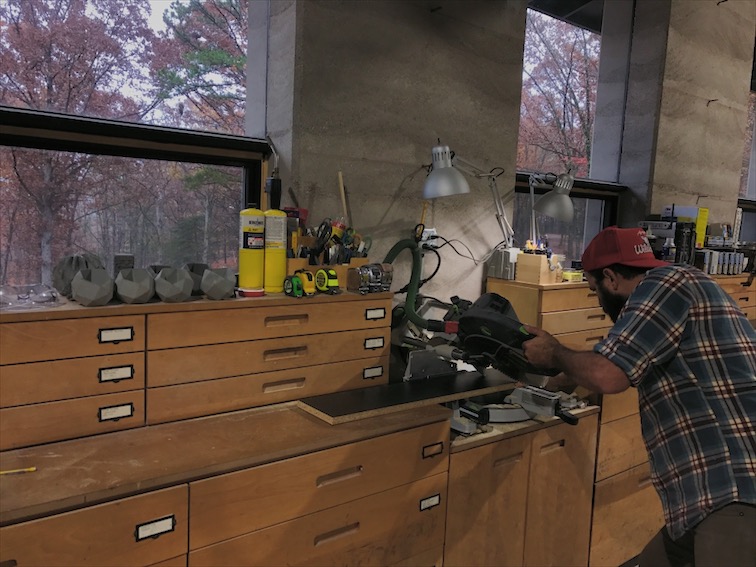
Sean doing who knows what.
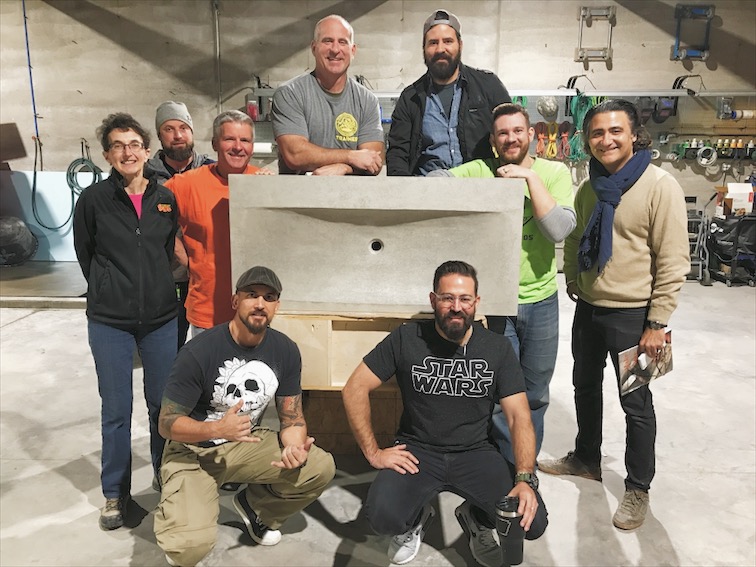
The class photo from the first ever class held at the new Concrete Design School Studio!

Beautiful concrete being made with a beautiful sunset outside.
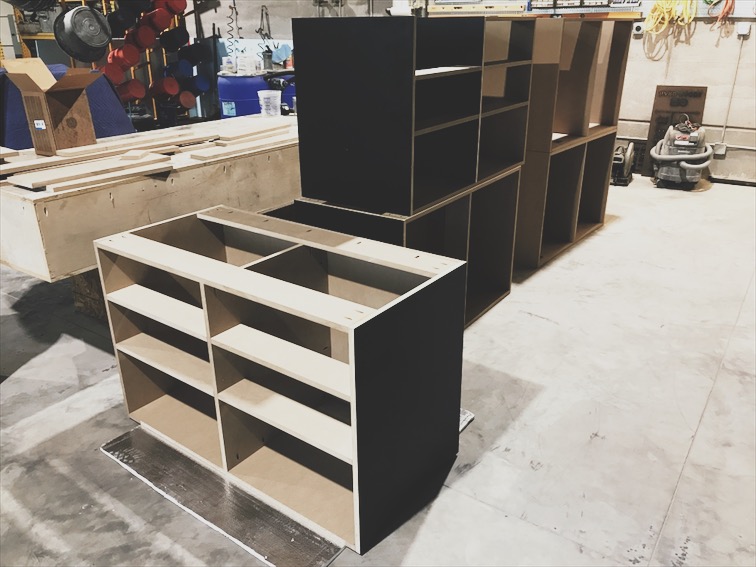
I built some cabinets for the metal working area.
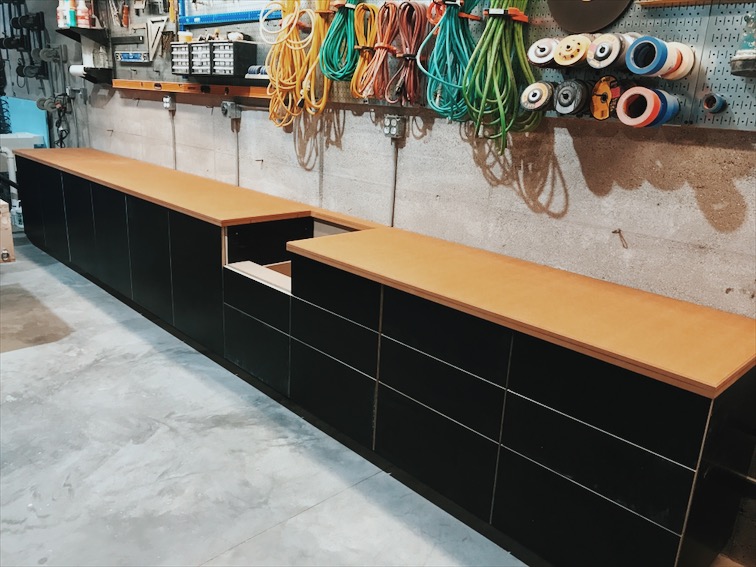
Here they are installed with an oiled MDF countertop. The cabinets are made from black concrete form-ply, a nod to the forms used to create the rammed earth walls.
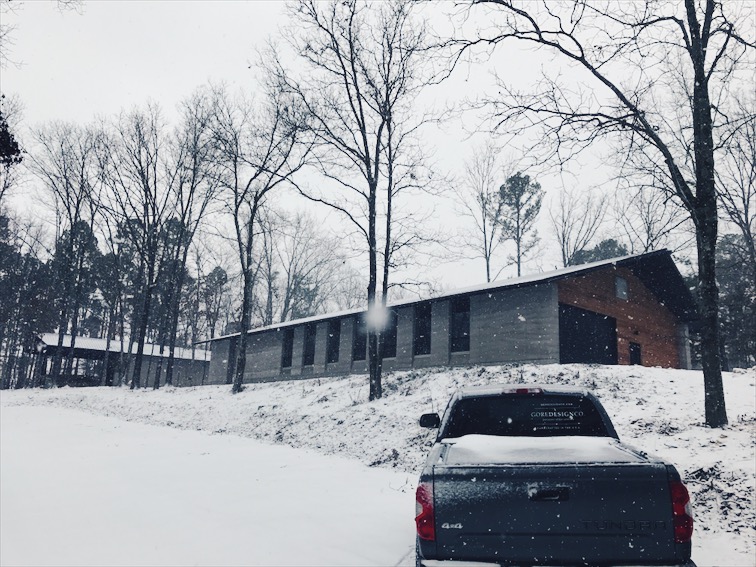
Let it snow!
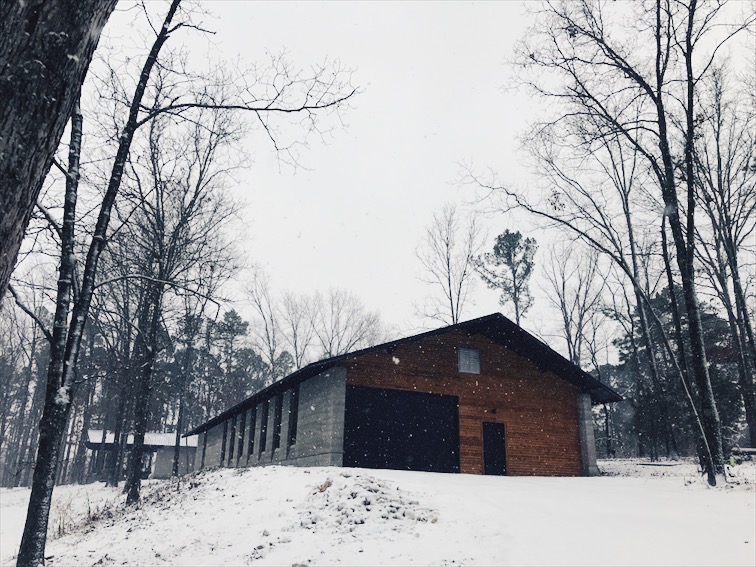
The 18" thick walls buffer the temperature swings.

What are the form ties for? Hanging pots and pans, of course!
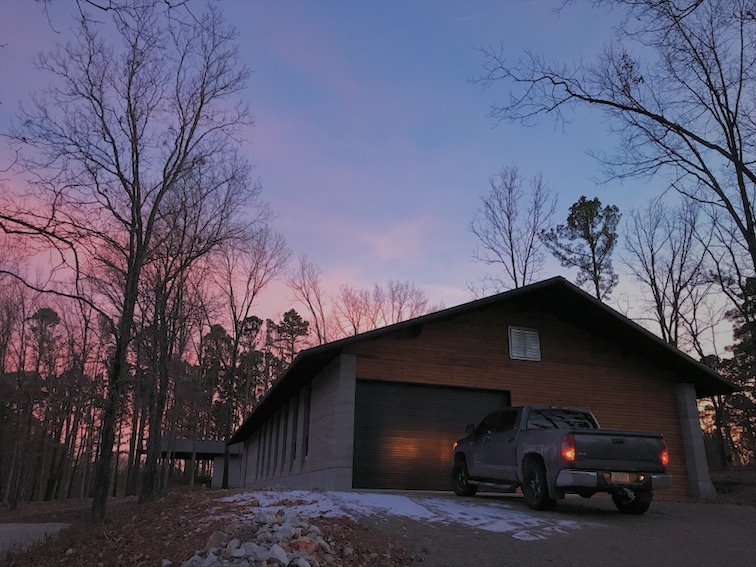
Twilight means quitting time.

Me and Leola, she's wasn't even on the horizon when we started this build!

The temporary conference table in the meeting room.
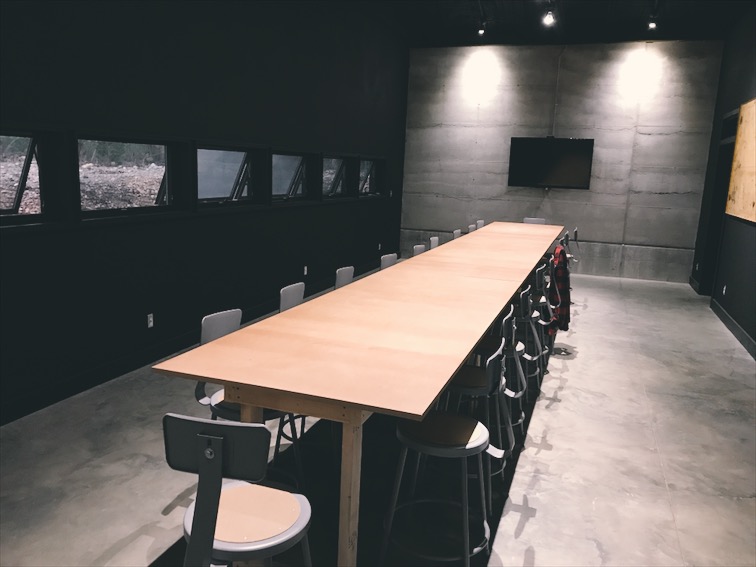
Black was a bold choice for the wall color, but I really love it, it makes the rammed earth a focal point.
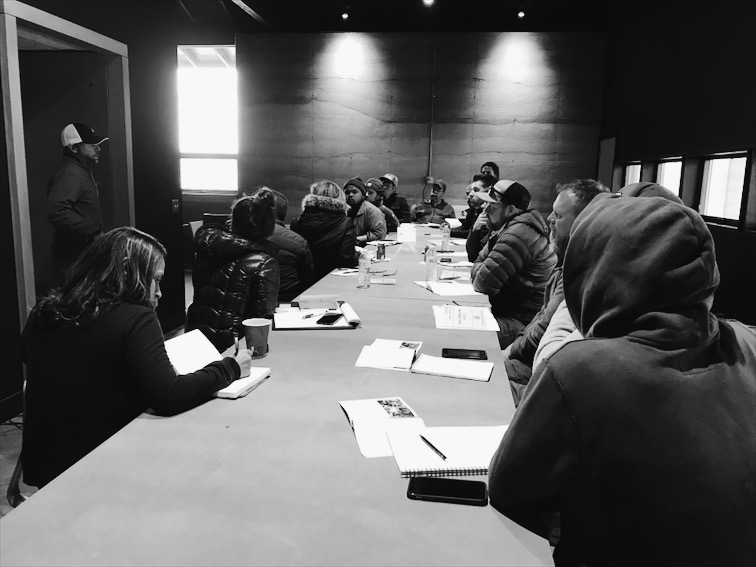
Class No. 2 at the new studio - a full house!
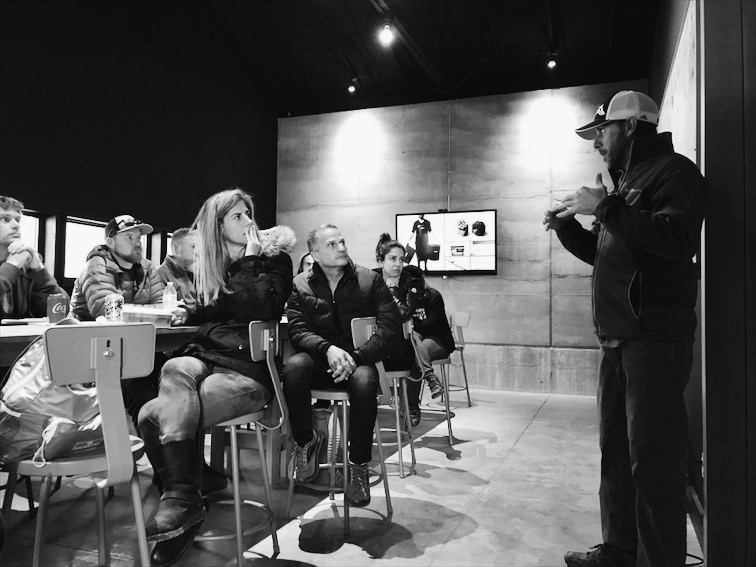
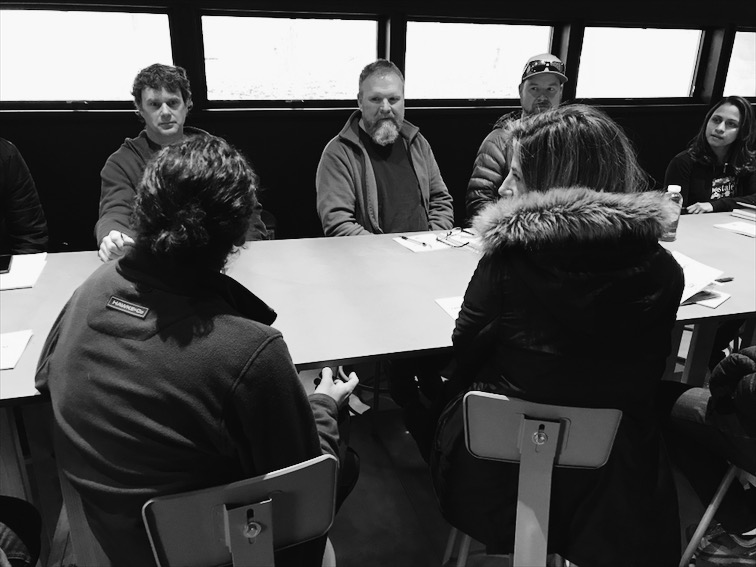
Noel joined us and offered his insight.
I had a vision of a laser beam of operational windows. It turned out.
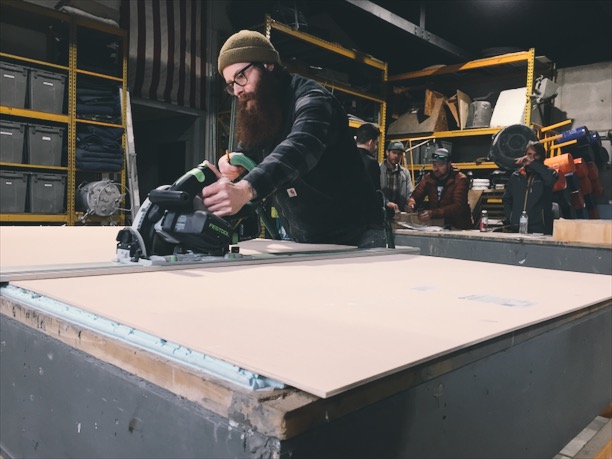
I've been using Festool products for nearly 15 years and yet I get no love from them - what's a guy to do? DeWalt or Makita, if you're reading this, hit me up, I want to use and promote tools from companies that support what we do!
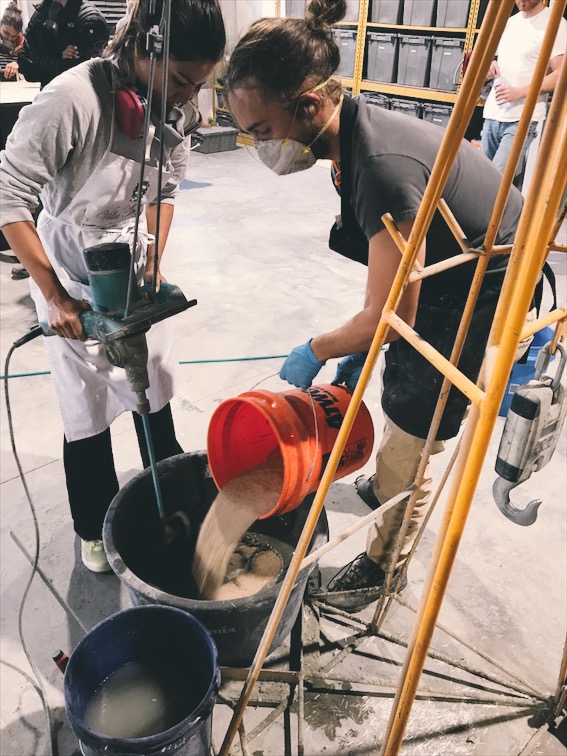
Mixing concrete. There's a lot more to it than just blending materials. Join us for a workshop to learn how to do it right.

Discussion with workshop attendees.
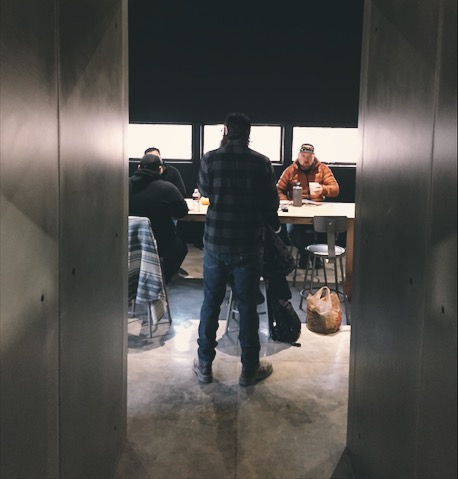
Concrete wall cladding in the hallway leading to the meeting room.

A post-tensioned concrete workshop at the new space.
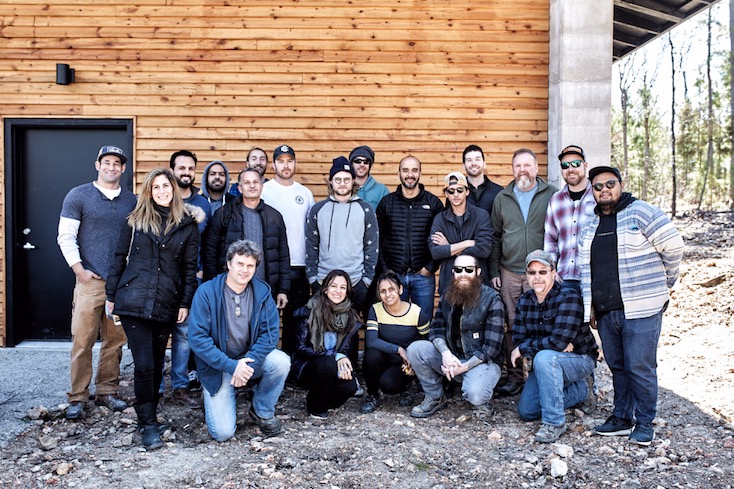
The second Fabric-Forming + GFRC Workshop held at the new studio.

The studio just before the September 2018 DustyCrete Workshop.

Dusty Baker sharing the secrets of his signature finish.

Our meeting room is spacious enough to easily host 20+ attendees.

Attendees of the September 2018 DustyCrete Workshop - check out that rammed earth behind them!

